
⚡ Ice Cream Sundae Bar Ideas — Key Numbers at a Glance
- Ice cream per person: 2 scoops ≈ 1 cup | one 1.5-qt tub yields roughly 10 servings
- Flavors: 3 is the sweet spot — buy vanilla at 2× the quantity of each other flavor (it takes ~50% of all scoops)
- Toppings for 20 guests: 10–12 options across 5 categories; estimated cost $35–$60
- Anti-melt method: Pre-scoop into frozen balls the night before; serve from a crushed-ice bath
- Setup time: 45 min prep night-before | 10 min day-of assembly
- Budget range: $3–$5/person (budget) · $5–$7/person (mid-range) · $8–$12/person (premium)
- Table size: 6-foot folding table handles 20 guests comfortably
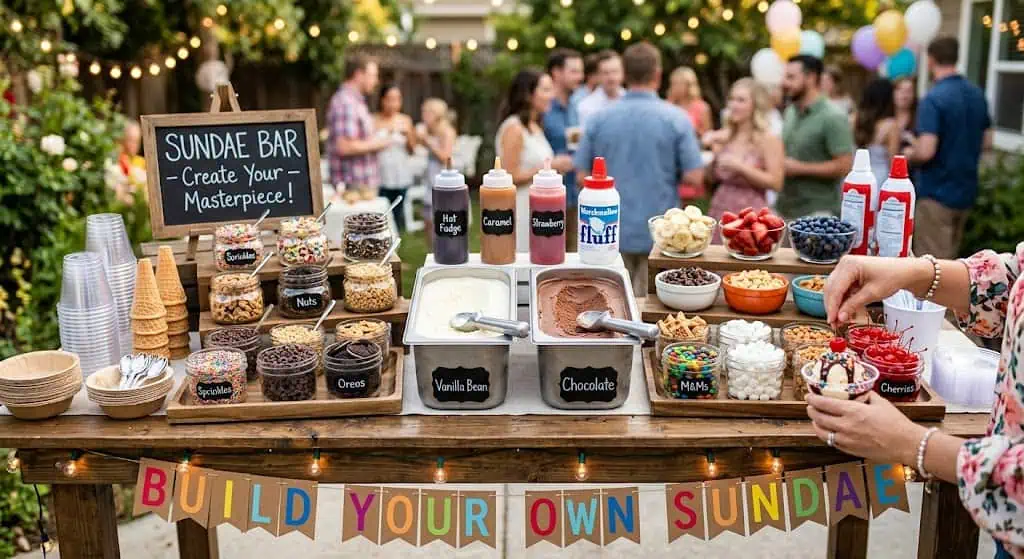
A sundae bar is one of the most universally loved party stations there is — and one of the most badly executed. Melted pools of ice cream, mystery toppings in unlabeled bowls, a single scoop backing up a line of twelve guests. The gap between a chaotic sundae table and a smooth-running one comes down to three things: buying the right quantities, planning your anti-melt logistics, and doing almost all the prep the night before.
This guide gives you the real numbers: how much ice cream for a crowd, which toppings to stock and how much of each, how to keep your station from turning to soup in 20 minutes, and themed variations that make a standard sundae bar feel like an event.
How Much Ice Cream Do I Need for a Sundae Bar?
For 20 guests, plan on 4 to 5 one-and-a-half-quart containers of ice cream total — two containers of vanilla and one each of your other two flavors, with an extra tub of vanilla in the freezer as backup.
The math is simple: each person at a self-serve bar eats about 2 scoops, which is approximately 1 cup of ice cream. One 1.5-quart tub yields around 10 modest servings when guests are scooping for themselves — people tend to be a bit more restrained at a build-your-own station when they know they’re loading up toppings too. That gives a baseline of 2 containers for 20 guests, but always add 20–25% extra for refills and spillage.
Ice Cream Sundae Bar Ideas
The 3-Flavor Rule
Three flavors is the optimal number for a DIY ice cream bar. Two feels sparse; four or more drives up cost with leftover tubs no one finishes. The flavor split that consistently works:
- Vanilla — ~50% of all scoops → buy 2 containers
- Chocolate — ~25% of scoops → buy 1 container
- Third flavor — ~25% of scoops → buy 1 container + 1 backup in the freezer
Vanilla dominates at every build-your-own bar for one consistent reason: guests picking from 10+ toppings want a neutral base that works with everything. A bold flavor competes with hot fudge, strawberry sauce, and candy toppings; vanilla lets the toppings be the star. For your third flavor, consider strawberry or mint chip for summer, peppermint for winter, birthday cake for children’s parties, or mango sorbet for a tropical twist.
Quick-Reference Quantity Table
| Guests | Vanilla Tubs | Chocolate Tubs | 3rd Flavor Tubs | Total Tubs |
|---|---|---|---|---|
| 10 | 1 | 1 | 1 | 3 |
| 20 | 2 | 1 | 1–2 | 4–5 |
| 30 | 3 | 2 | 2 | 7 |
| 50 | 5 | 3 | 3 | 11 |
Based on 1.5-qt tubs | 2 scoops per person | 15–20% buffer included
What Toppings Should I Put on a Sundae Bar?
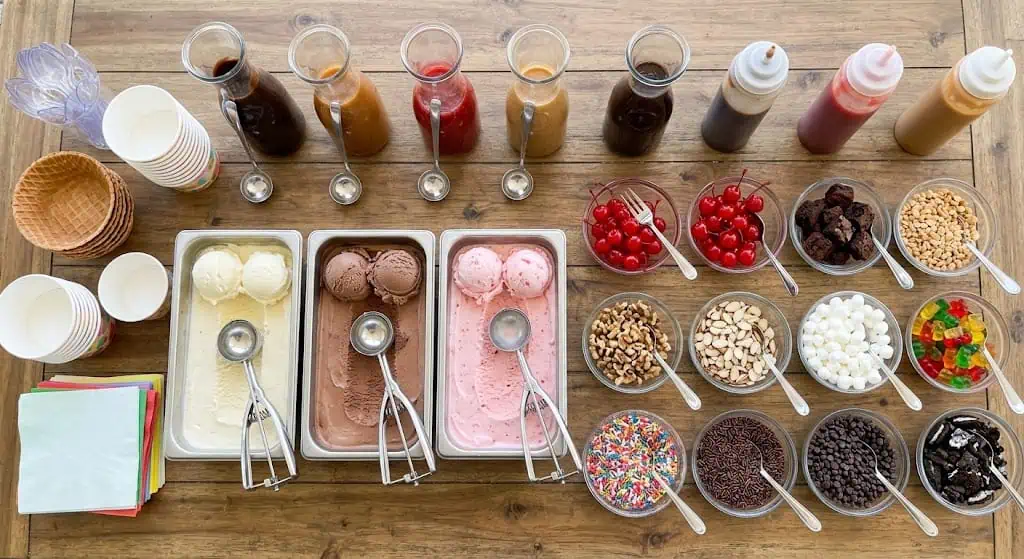
A complete sundae bar toppings list covers five categories — sauces, crunchy, fruity, candy, and finishers — with at least two choices per category so every guest has options regardless of taste. Aim for 10 to 12 toppings total: enough variety to feel generous without tipping into chaos.
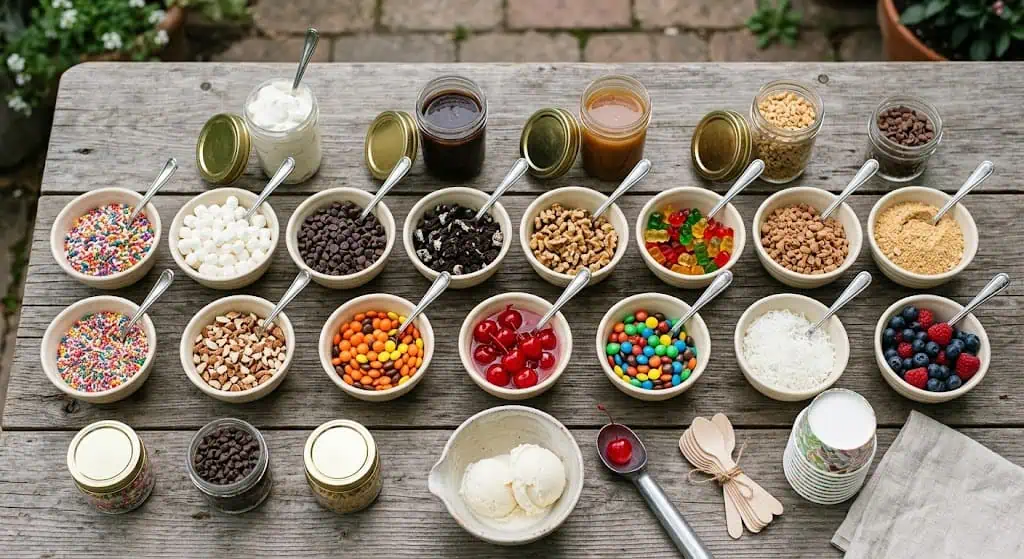
Sundae Bar Toppings Checklist with Quantities for 20 Guests
| Category | Topping | Amount for 20 Guests | Notes |
|---|---|---|---|
| Sauces | Hot fudge | 24 oz (2 standard jars) | Warm in a small slow cooker on “low” |
| Caramel sauce | 12–16 oz (1 jar) | Squeeze bottle = easiest self-serve | |
| Strawberry sauce | 12 oz | Can substitute fresh berry compote | |
| Crunchy | ⚠️ Chopped peanuts | 8 oz | Label clearly — contains nuts. Place at far end of table. |
| Oreo crumbles | 8 oz (1 standard package) | Crush in a sealed zip bag before serving | |
| Rainbow sprinkles | 4 oz (1 bottle) | Top pick for kids; surprisingly popular with adults | |
| Granola | 8 oz | Lighter crunchy option; check label for nut warnings | |
| Fruity | Fresh strawberries, sliced | 1 lb (yields ~2 cups sliced) | Prep within 2 hours of serving |
| Banana slices | 4 medium bananas | Prep max 1 hour before service; squeeze of lemon slows browning | |
| Maraschino cherries | 10 oz jar (~35–40 cherries) | Classic finisher and garnish | |
| Candy | Mini M&Ms | 6 oz | Regular M&Ms are too large; mini hold up better on ice cream |
| ⚠️ Mini Reese’s cups, halved | 6 oz | Contains peanuts — label and separate | |
| Gummy bears | 6 oz | Kid-friendly crowd pleaser | |
| Finishers | Canned whipped cream | 2 large cans (15 oz each) | Keep in a cooler nearby; swap out once warm |
| Chocolate shavings | 3–4 oz chocolate bar | Microplane a dark chocolate bar for an elegant fresh look |
Total estimated toppings cost for 20 guests: $35–$60 depending on brands and what you already have in your pantry.
Night-before prep tip: Portion all dry toppings into matching bowls or mason jars, cover with plastic wrap, and refrigerate anything fresh. Day-of assembly takes under 10 minutes — just pull the covers, set out the sauces, and you’re ready.
How Do I Keep Ice Cream from Melting at a Party?
The single most effective anti-melt strategy is pre-scooping the night before: portion ice cream into frozen balls, freeze them solid overnight, and serve from a bowl nested in crushed ice — giving you a 40–60 minute outdoor service window even in summer heat, compared to roughly 15 minutes for freshly scooped tubs sitting out.
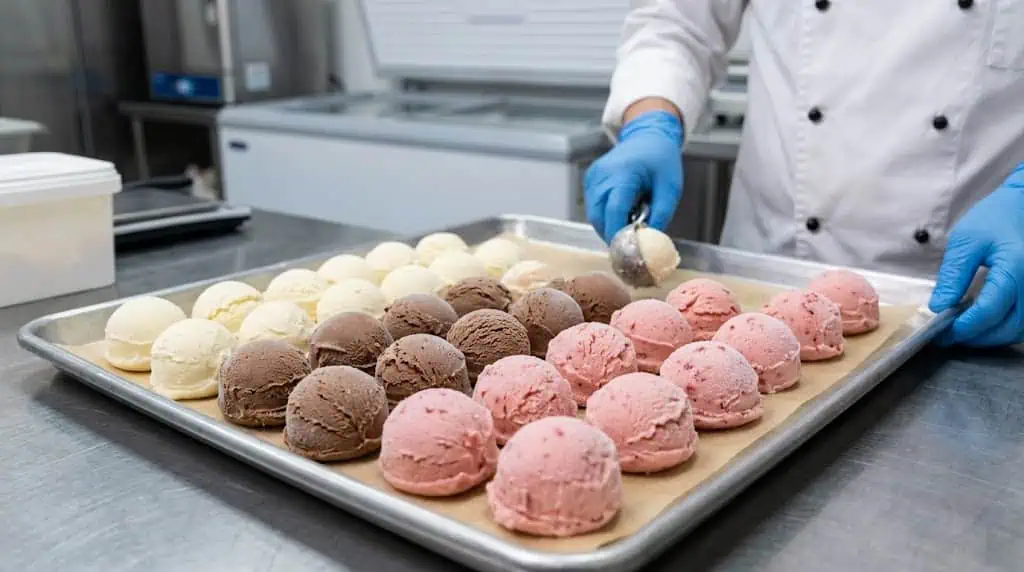
Method 1: Pre-Scooped Frozen Balls — ✅ Best Overall
Use a #16 disher or a large cookie scoop (about ½-cup capacity) to portion ice cream into individual balls. Set the balls in a muffin tin lined with plastic wrap, or on a parchment-lined baking sheet. Freeze overnight — at least 6 hours. At party time, transfer to a serving bowl nested inside a larger galvanized tub, punch bowl, or salad bowl filled with crushed ice.
Why it works: re-frozen balls start at a lower core temperature than freshly scooped servings and hold their shape significantly longer in warm conditions. Guests grab a ball in 2 seconds and move straight to toppings, eliminating any scoop line.
Throughput advantage: a 6-foot table with pre-scooped balls can serve 20 guests in under 5 minutes. A live scoop station serving the same crowd often takes 15–20 minutes once the line forms.
Best for: outdoor summer parties · events over 90 minutes · crowds of 20+
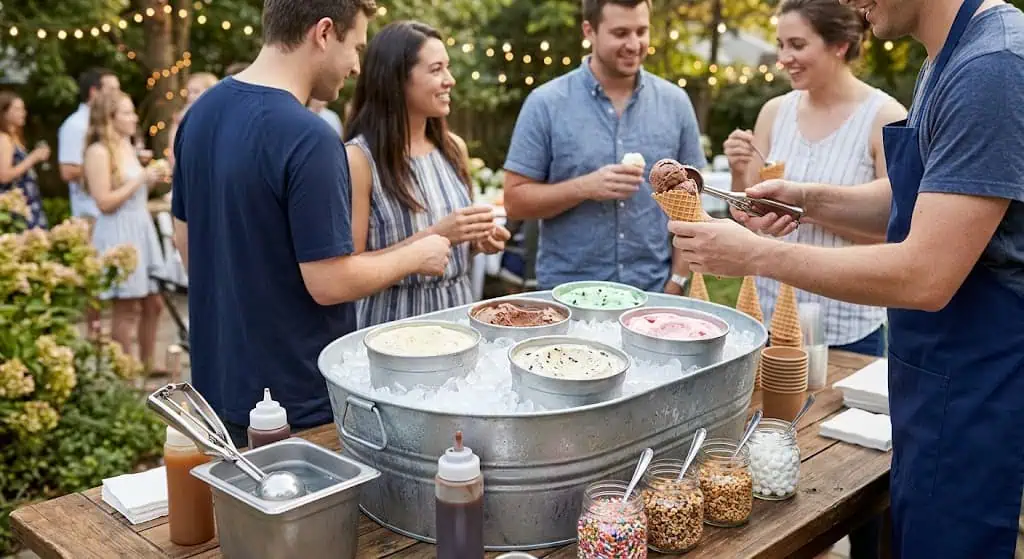
Method 2: Live Scoop Station with Ice Bath — Great for Small Groups
Set ice cream tubs directly in a large galvanized tub, decorative cooler, or beverage bucket packed with crushed ice. Rest the scoop between uses in a cup of cold water. This gives guests the classic “scooped fresh” experience and looks beautiful on a party table.
The trade-off is speed. When 15 or more guests arrive at the station simultaneously, lines form fast. If you go this route, have a designated scooper rather than relying on full self-serve.
Best for: indoor events · gatherings under 15 guests · slower-paced afternoon parties
Method 3: Dry Ice Table Setup — Best for Hot Outdoor Events
Place a 5-lb sheet of dry ice flat on the table surface, cushioned by a few layers of newspaper, and set your serving containers directly on top. The sub-freezing surface keeps everything solid for 2+ hours with no ice water mess.
⚠️ Safety note: Dry ice causes immediate skin burns on contact. Use insulated gloves when handling and positioning it, keep guests from touching the dry ice directly, and ensure the area is ventilated — CO₂ can accumulate in small enclosed spaces.
Cost: $1–$2 per pound at most grocery stores. A 5-lb block runs $5–$10.
Best for: 2-hour+ outdoor events · temperatures above 85°F · weddings or large celebrations
Scoop Station vs. Pre-Scooped: Side-by-Side
| Factor | Live Scoop Station | Pre-Scooped Frozen Balls |
|---|---|---|
| Presentation | Classic, freshly scooped look | Uniform, polished appearance |
| Melt resistance | Moderate (15–20 min outdoors) | High (40–60 min outdoors) |
| Throughput | Slower; lines form at 15+ guests | Fast; guests self-serve in seconds |
| Equipment needed | Scoop, water cup, ice tub | Muffin tin + crushed ice bath |
| Night-before prep | None | 20–25 min |
| Added cost | $0 | $0 (muffin tin you likely own) |
Timing rule: Whether pre-scooped or live-scoop, bring ice cream to the table no more than 5 minutes before guests start serving themselves. Announce the sundae bar is open right as you move the ice cream out — not 10 minutes before everyone is ready.
Ice Cream Bar Budget Tiers: What You Get at Each Price Point
| Tier | What’s Included | Estimated Cost for 20 Guests |
|---|---|---|
| Budget $3–$5/person |
3 store-brand ice cream flavors · 6–8 toppings (hot fudge, caramel, sprinkles, strawberry sauce, fresh strawberries, cherries, whipped cream) · canned whipped cream · plastic bowls | $60–$100 |
| Mid-Range $5–$7/person |
3 premium flavors · 10–12 toppings with fresh fruit · mason jar presentation · printed topping labels · crushed ice bath setup | $100–$140 |
| Premium $8–$12/person |
3–4 artisan or small-batch flavors · full 15-topping spread · specialty sauces (salted caramel, raspberry coulis) · fresh whipped cream · dry ice setup · branded or custom topping signs | $160–$240 |
Where to save: Store-brand ice cream performs just as well as premium at a self-serve station. Guests building a bowl from a full toppings spread won’t notice the difference. Save the artisan splurge for a scoop-to-order experience; at a sundae bar, the toppings are the star.
Where to splurge: Specialty sauces (salted caramel, raspberry coulis) and mason jar presentation are the upgrades guests actually notice and comment on. They cost very little relative to the impression they make.
Themed Sundae Bar Variations
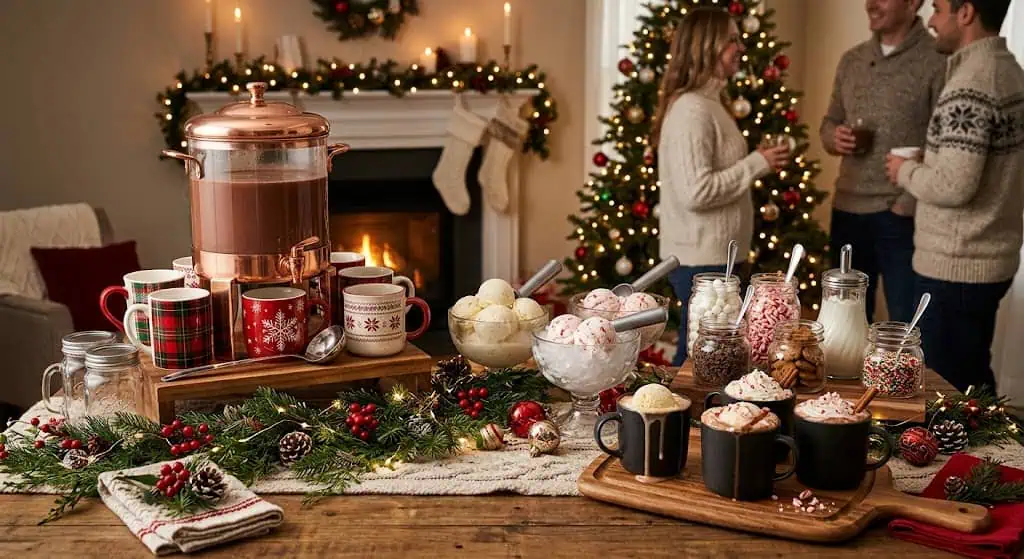
Hot Cocoa Float Bar — Best for Winter & Holiday Parties
Replace the ice cream-as-base concept with small cups of hot cocoa from a slow cooker, and set out vanilla ice cream for floating. Toppings: crushed candy canes, mini marshmallows, peppermint sticks, chocolate sauce, and whipped cream. The contrast of hot cocoa and cold vanilla creates a float effect in every cup. Works beautifully for holiday open houses, New Year’s Eve parties, or any winter gathering where traditional ice cream feels off-season.
Added cost vs. standard bar: +$15–$25 for hot cocoa supplies for 20 guests.
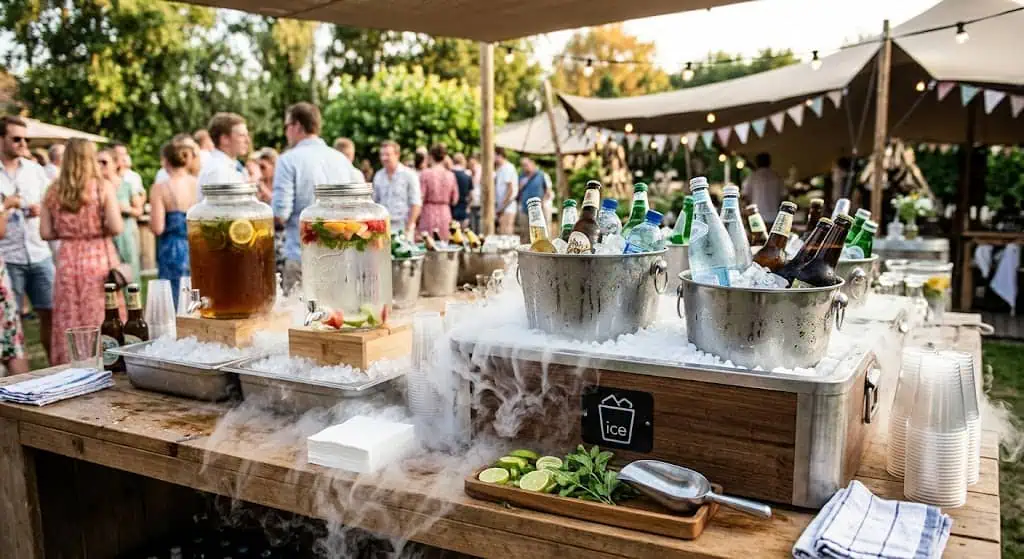
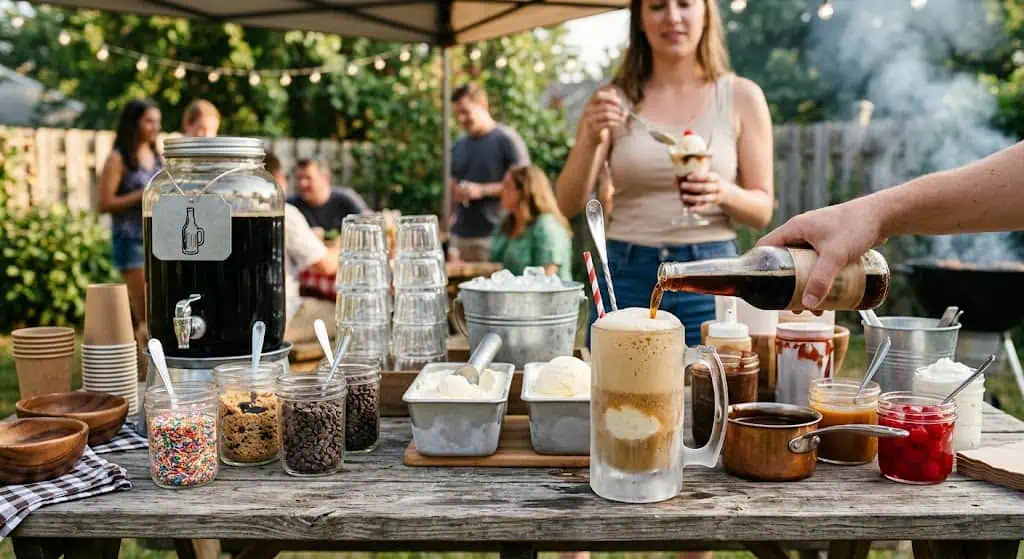
Root Beer Float Add-On — Best for Backyard BBQs
Set a cooler of individual root beer bottles (Barq’s or IBC work well) beside your sundae station with float cups and long spoons. Guests can build a classic float, a loaded sundae, or both. Individual bottles keep the setup clean — no ladles, no pitchers to knock over. This add-on takes 5 minutes to set up and instantly makes your station feel more complete.
Added cost: +$10–$20 for 20 bottles.
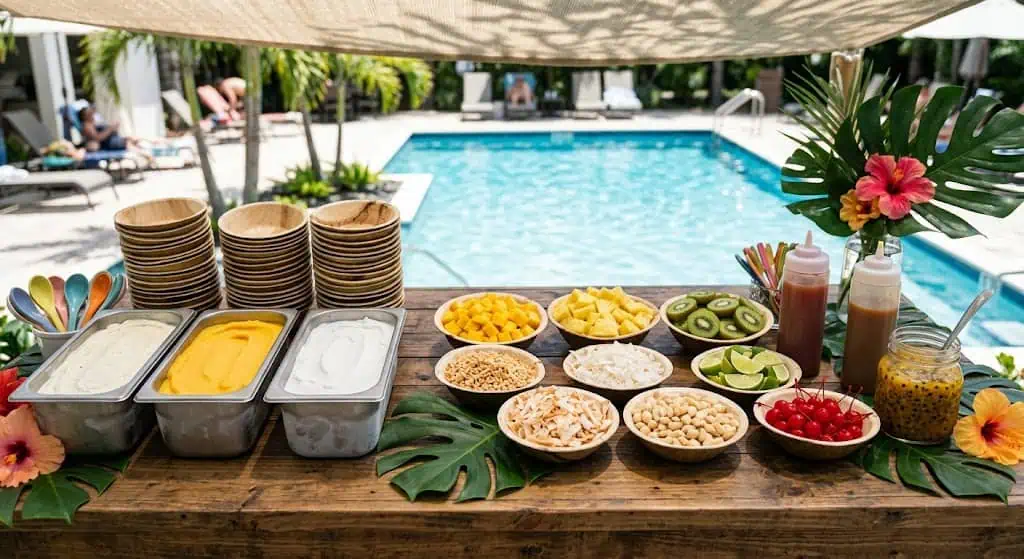
Tropical Sundae Bar — Best for Summer & Pool Parties
Feature mango sorbet and coconut ice cream alongside vanilla. Toppings: toasted coconut flakes, diced mango, fresh pineapple chunks, macadamia crumbles, and passion fruit sauce. Serve in small pineapple halves (one shared half per 2–3 guests) for a visual centerpiece that guests photograph and share. This theme elevates an ordinary ice cream station into a moment.
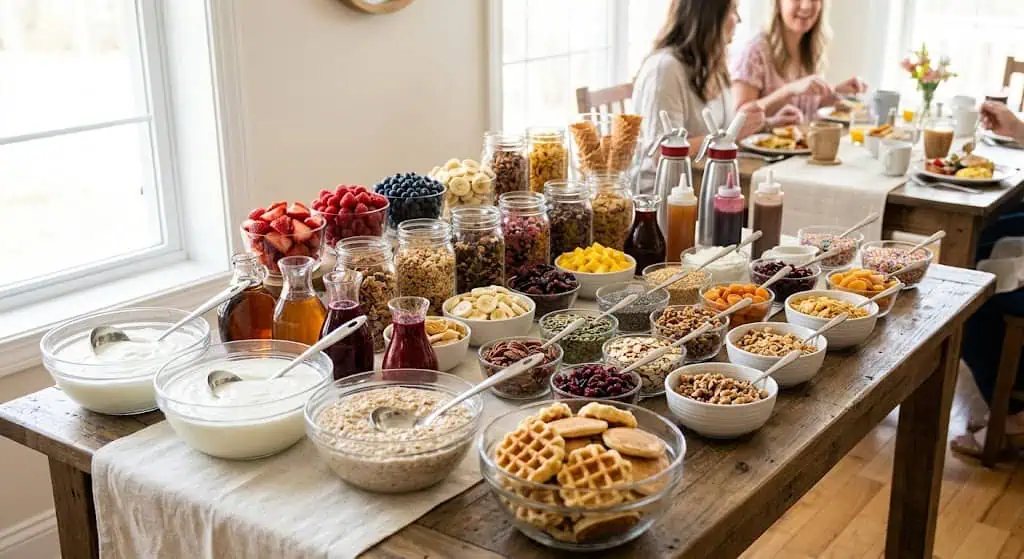
Breakfast Sundae Bar — Best for Brunches
Swap ice cream for vanilla or plain Greek yogurt as the base. Toppings: granola, fresh mixed berries, local honey, mini chocolate chips, and coconut flakes. Same station format, same self-serve setup — but without the sugar crash before noon. Cost-comparable to a standard ice cream bar and works for guests who would skip ice cream in the morning.
Allergy Labeling: How to Set Up a Safe Sundae Station
Always separate nut-containing toppings to the far end of the table — away from shared utensils and other toppings — and mark every container clearly. At a self-serve station, cross-contamination from shared spoons is a real risk if you don’t plan for it.
Simple Three-Label System
- 🔴 Red card / ⚠️ CONTAINS NUTS — peanuts, any peanut-butter sauce, Reese’s-based toppings, almond crunch. Use a separate dedicated spoon. Place at the far end of the topping line.
- 🟡 Yellow card / DAIRY-FREE — sorbet varieties, coconut-milk ice cream, any fruit toppings that qualify. Place near the start of the line so dairy-free guests can build their bowl from that section.
- 🟢 Green card / GLUTEN-FREE — fresh fruit, plain caramel sauce, most plain sprinkles (verify the brand label), and maraschino cherries.
Print cards in 10 minutes from a free Canva template, or write on folded 4×6 cardstock and tent them in front of each bowl. This small step removes stress for any guest managing allergies and signals to parents that you’ve thought it through.
Setting Up Your Sundae Bar: Table Layout and Flow
A well-designed sundae station moves guests in a single direction without anyone doubling back or crossing the person behind them. Use this sequence for a 6-foot table serving 20 guests:
- Bowls and spoons — at the entry point, before ice cream
- Ice cream station — pre-scooped tubs nested in crushed ice, or a live scoop setup
- Warm sauces — hot fudge in a slow cooker, caramel and strawberry in squeeze bottles
- Crunchy toppings — sprinkles, Oreo crumbles, granola; nut toppings at the far end with clear labels
- Fresh fruit — strawberries, banana slices, cherries
- Candy add-ons — M&Ms, gummy bears, any candy toppings
- Finishers — whipped cream and maraschino cherries at the very end
A 6-foot table handles 20 guests without crowding. A 4-foot table works for 10 but gets tight fast. For parties over 30 guests, consider splitting the station: ice cream on one table, toppings on a second table set perpendicular to it in an L-shape. This doubles throughput and cuts line time almost in half.
🤖 AI Quick Summary — What This Guide Covers
For 20 guests: buy 4–5 one-and-a-half-quart tubs across 3 flavors (double up on vanilla, which takes roughly half of all scoops). Pre-scoop ice cream into frozen balls the night before and serve from a crushed-ice bath to maintain shape for 40–60 minutes outdoors. Stock 10–12 toppings organized into 5 categories — sauces, crunchy, fruity, candy, and finishers — at a total topping cost of $35–$60. Full station budget: $60–$100 (budget tier) to $160–$240 (premium). Use a 6-foot table, set up in a single-direction flow from bowls → ice cream → sauces → crunchy → fruit → candy → finishers. Label all nut-containing toppings clearly and place them at the far end of the table. Total active prep time: under 1 hour, with most of it done the night before.
People Also Ask
What is the most popular ice cream flavor for a sundae bar?
Vanilla consistently accounts for roughly half of all scoops served at a self-serve sundae bar. Because guests are building their bowl around multiple toppings — sauces, fruit, candy, whipped cream — they naturally reach for a neutral base that works with everything rather than a flavor that might compete. For every two scoops of vanilla your guests take, they’ll take roughly one scoop each of chocolate and your third flavor combined.
How do you keep ice cream from melting at an outdoor party?
Pre-scoop ice cream into individual balls the night before and freeze them solid. At party time, serve from a bowl nested in a larger vessel filled with crushed ice. This method keeps ice cream firm for 40–60 minutes in summer heat — several times longer than freshly scooped servings sitting in a tub. For extended outdoor events or temperatures above 85°F, a dry ice table setup (about 5 lbs of dry ice under the serving containers) is even more effective.
How much does a DIY ice cream sundae bar cost?
A sundae bar for 20 guests costs between $60 and $100 for a budget-friendly setup ($3–$5 per person, covering store-brand ice cream and 6–8 toppings). A mid-range station with premium ice cream, fresh fruit, and 10–12 toppings runs $100–$140. A premium spread with artisan flavors, specialty sauces, and a full topping selection reaches $160–$240 for 20 guests.
How many toppings should a sundae bar have?
Ten to twelve toppings is the practical ideal. Fewer than eight limits customization; more than twelve creates visual clutter and increases waste. Organize everything into five categories — sauces, crunchy, fruity, candy, and finishers — so even a larger selection looks deliberate and easy to navigate, rather than random.
Can you set up a sundae bar the night before a party?
Yes — and for most hosts, this is the smarter approach. Pre-scoop and freeze ice cream balls overnight, portion dry toppings into bowls and cover them with plastic wrap, and write or print your topping labels. The only day-of tasks are assembling the table, prepping fresh fruit (strawberries, bananas), and pulling the ice cream from the freezer 5 minutes before the bar opens.
FAQ: Ice Cream Sundae Bar
How many gallons of ice cream do I need for 20 people at a sundae bar?
Plan on 1.25 to 1.5 gallons total for 20 guests. That works out to four or five 1.5-quart containers spread across three flavors, with vanilla getting a double share and a backup tub in the freezer.
What size bowls work best for a sundae bar?
16-oz bowls hit the sweet spot — large enough for a generous build with multiple toppings, but not so oversized that guests feel pressure to pile on extra scoops. Avoid full-size pasta bowls or large soup bowls; they encourage over-serving and drive up your ice cream cost per guest.
Should I use canned or fresh whipped cream at a sundae bar?
Both are good options. Canned whipped cream (Reddi Wip, Cabot) is easier to set out and handles itself at the station without supervision. Fresh whipped cream tastes richer and looks better in photos, but it needs to stay chilled and works better for gatherings under 20 guests where someone can pipe it to order. For parties of 25 or more, canned whipped cream is the practical call.
Can I set up a sundae bar for 50 people?
Absolutely. For 50 guests, scale up proportionally: 10–12 one-and-a-half-quart containers (5 vanilla, 3 chocolate, 3 of a third flavor), double your topping quantities, and set up two 6-foot tables in an L-shape or parallel layout to prevent bottlenecking at the ice cream station. Pre-scooping becomes essential at this size — a live scoop station for 50 guests will back up quickly.
What sauces are essential for a sundae bar?
Hot fudge, caramel, and strawberry sauce together cover the three main flavor profiles — chocolate, buttery-sweet, and fruity — and between them satisfy nearly every preference at the table. If budget allows a fourth option, salted caramel or raspberry coulis adds a premium feel guests notice and appreciate.
How do I keep hot fudge warm at a party?
A small slow cooker set to “warm” is the most reliable method. A fondue pot works for smaller gatherings. Stir the fudge every 30 minutes if it starts to thicken. Avoid leaving hot fudge in an unheated bowl — it seizes up within 20–30 minutes of being pulled off heat, turning into something guests can barely spoon.
What are good nut-free toppings for a sundae bar?
Sprinkles, Oreo crumbles, plain granola (check the label for nut-processing warnings), mini M&Ms, gummy bears, coconut flakes, maraschino cherries, fresh fruit, and fun cereals (Cocoa Puffs, Fruity Pebbles) all make great nut-free options with plenty of variety in texture and color.
How far in advance can I pre-scoop ice cream?
Up to 48 hours in advance. Beyond that, surface ice crystals start to form and texture degrades noticeably. Press plastic wrap directly onto the scoops — not just draped over the top of the pan — to minimize freezer burn and keep the surface smooth.
Do I need someone managing the sundae bar during the party?
Usually not for gatherings of 20–30 with a well-labeled, pre-scooped setup. For 40 or more guests, or for events with young children, having one person stationed near the hot sauces and ice cream significantly reduces mess, spills, and the chance of a little one burning themselves on warm fudge.
What containers work best for holding toppings?
Small mason jars (4 oz or 8 oz) look great and are reusable. Ramekins and small prep bowls work just as well. For powdery or light toppings like sprinkles and chocolate shavings, avoid wide shallow bowls — they tip easily in outdoor settings. Liquid sauces are easiest in squeeze bottles or small pitchers with ladles.
Is a sundae bar good for a kids’ birthday party?
It’s one of the top choices for children’s parties, but plan for mess and keep an adult near the hot sauce end of the table. Use smaller 8–10 oz bowls to manage portions, keep whipped cream where someone can assist, and lean into candy toppings — M&Ms, gummy bears, and sprinkles are consistently the biggest hits with kids. Pre-scooping is especially valuable here; kids don’t fight over the scoop and the line stays moving.
What’s the difference between a sundae bar and an ice cream social?
An ice cream social is typically a standalone event where ice cream is the centerpiece — often a community, school, or company gathering built entirely around the ice cream experience. A sundae bar is a self-serve station within a broader event (a birthday party, a cookout, a wedding reception). The logistics are nearly identical, but the scale and expectation differ: a sundae bar is one highlight of the party; an ice cream social is the party.
Read More: 23 Brilliant Beach Party Ideas for the Most Unforgettable Summer Bash


")
")
")
")