The first Halloween dessert table I ever set up was technically delicious and visually a flat, beige disappointment — a dozen treats lined up like a bake sale on a folding table. Everything tasted great. Nothing made anyone stop and stare. That’s when I learned that great Halloween dessert table ideas are only half about the desserts; the other half is the table itself — height, color, and one anchor piece that pulls the whole display together.
This guide covers both halves: the layout formula I now use every October in Nashville, 14 desserts with real costs and make-ahead windows, and the 3-day prep timeline that means you’re arranging on party day, never baking. Every item lists yield and a “best for” label so you can build your table in one read.
What Do You Put on a Halloween Dessert Table?
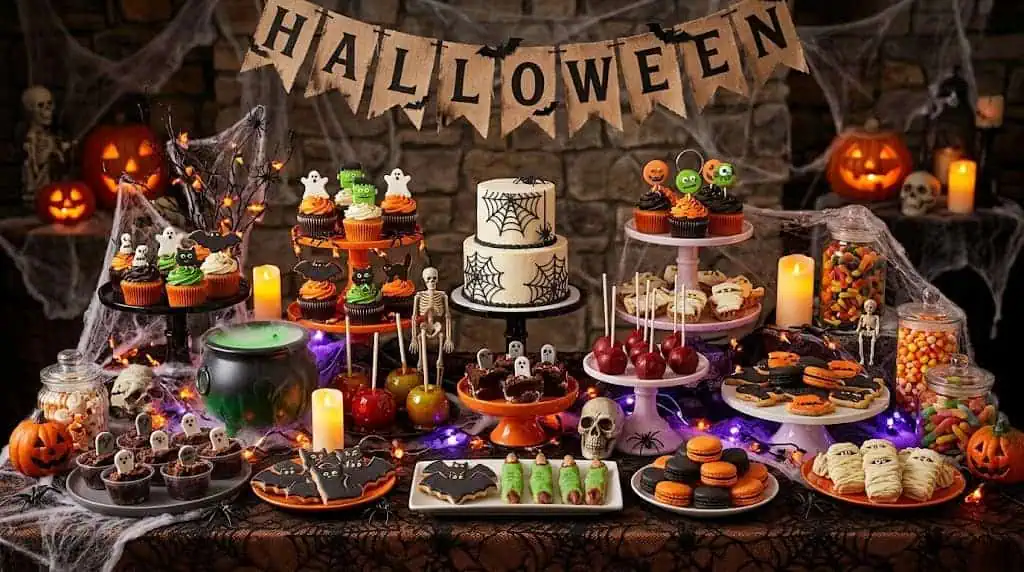
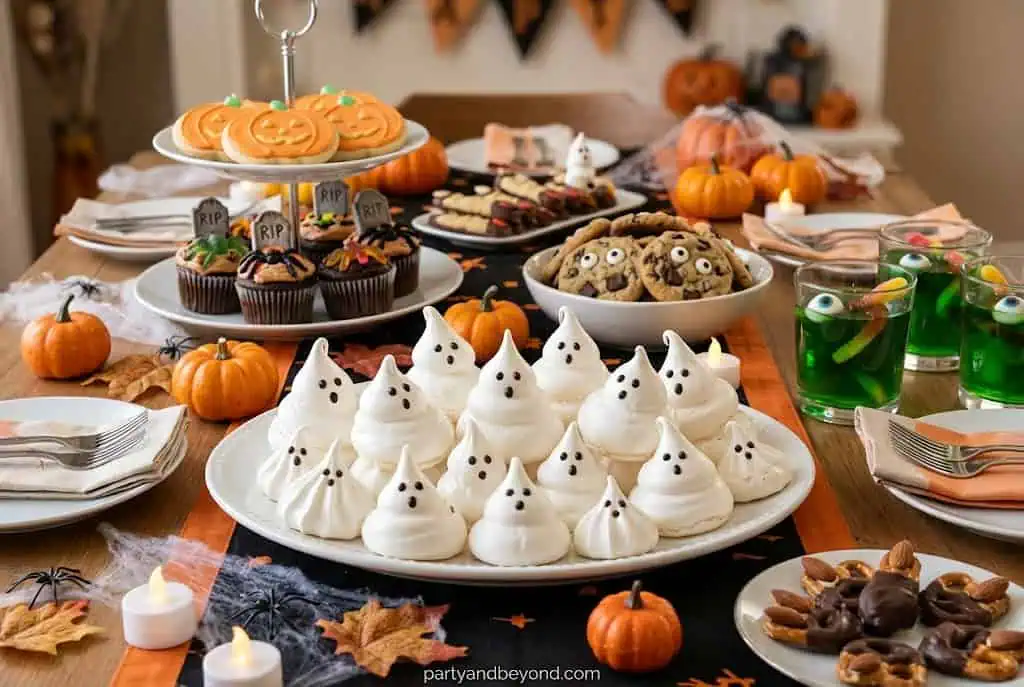
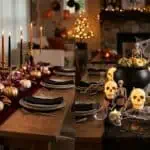
A balanced Halloween dessert table has one tall centerpiece (a cupcake tower or tiered cake), 4–5 grab-and-go treats (cookies, cake pops, hand pies), 2–3 filled candy jars for height and color, and one “wow” piece like a graveyard sheet cake — about 8–10 items total for 15–20 guests. Plan 2.5–3 dessert servings per guest if the table is the main food event, or 1.5–2 if you’re also serving dinner. Resist the urge to add more variety: ten generous, intentional items photograph and serve far better than sixteen sparse plates.
How Do You Set Up a Halloween Dessert Table?
Work back-to-front and tall-to-short: backdrop first, then your tallest items along the rear, medium risers in the middle, and flat trays at the front edge where hands can reach. Here’s the 30-minute setup order I follow:
Backdrop tie-in: hang a $10 fringe curtain, a black plastic tablecloth, or a string of paper bats on the wall behind the table — the table should touch its backdrop visually, not float in front of a blank wall.
Base layer: one floor-length black or deep purple tablecloth ($6). Floor-length matters; it hides the boxes you’re about to use.
Height triangle: tallest piece in the back center, two medium heights on the back corners, everything else stepping down toward the front. Sturdy boxes and thick books under the cloth make free risers.
Color discipline: pick 2–3 colors (black + orange + white, or black + purple + green) and repeat them in frosting, jars, and labels.
Labels last: small black tent cards naming each dessert — plus allergy notes — finish the look and answer questions before they’re asked.
Pro tip: You do not need to buy risers. Cereal boxes, shoe boxes, and cake pans flipped upside down under the tablecloth create three levels for $0. Test stability with a gentle shake before a single dessert goes up.
14 Halloween Desserts Worth a Spot on the Table
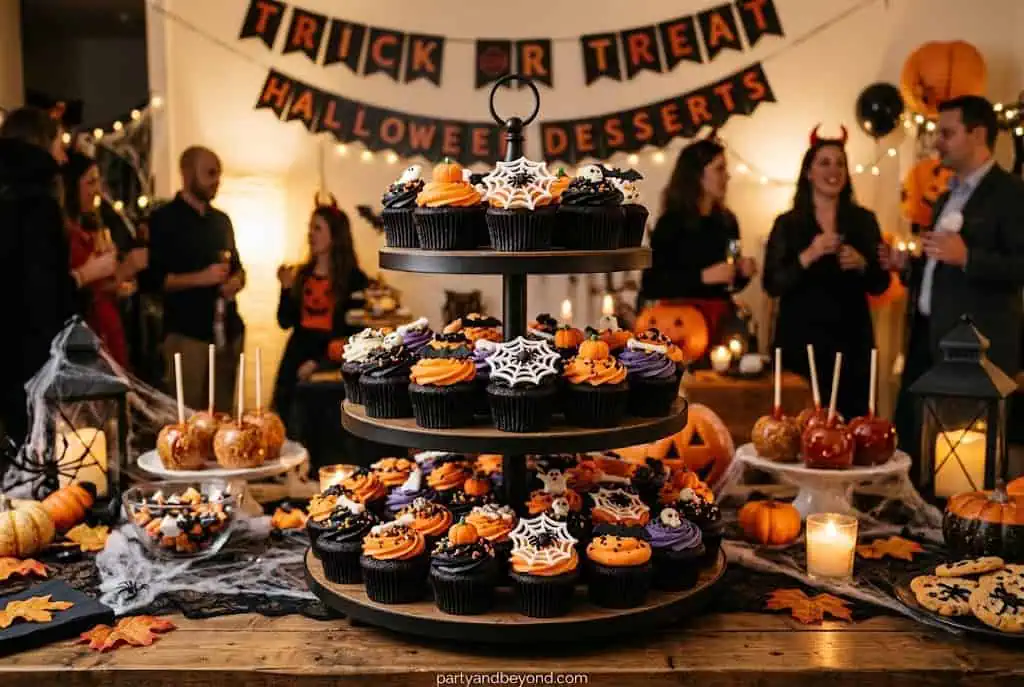
1. Black Velvet Cupcake Tower
Black cocoa cupcakes with violet or orange frosting, stacked on a tiered stand as your centerpiece. About $14 for 24, 60 minutes; bake a day ahead, frost the morning of. Best for: the tall anchor every table needs.
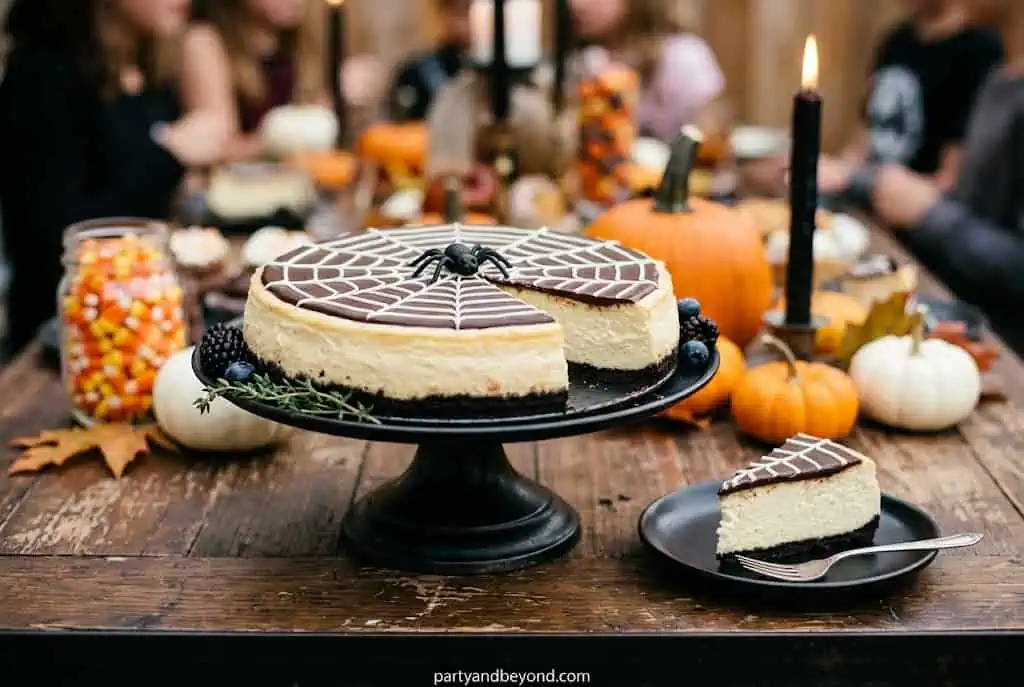
2. Spiderweb Cheesecake
A classic cheesecake with a chocolate web piped over the top — drag a toothpick from center to edge through chocolate rings and the web draws itself. About $12, serves 12, and it’s actually better made 2 days ahead. Best for: the slice-and-serve adult favorite.
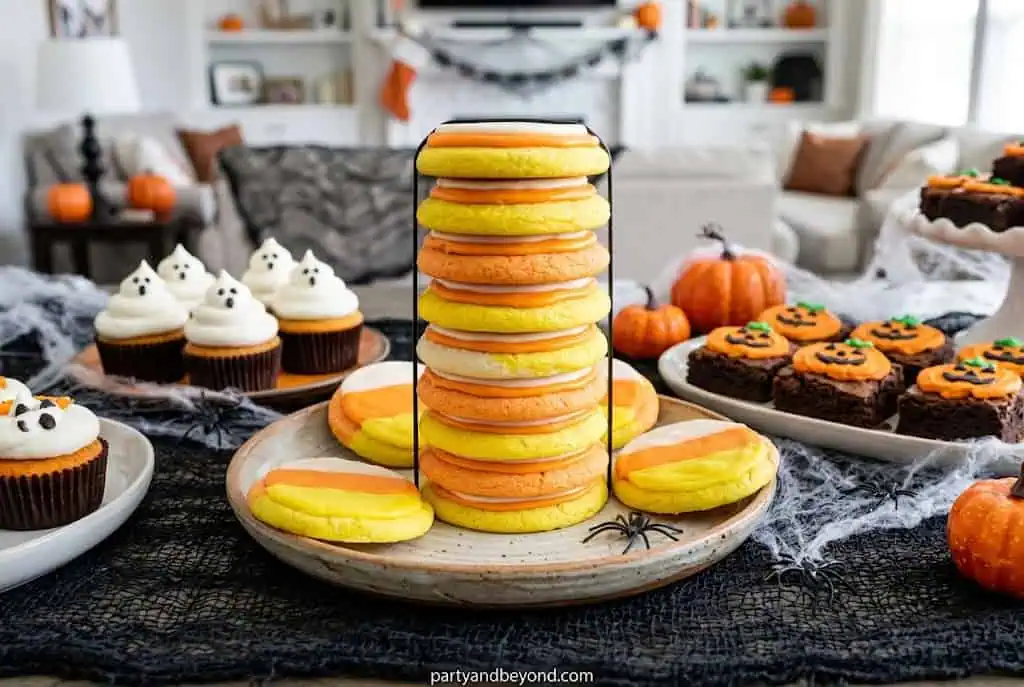
3. Candy Corn Sugar Cookie Stack
Triangle sugar cookies iced in yellow, orange, and white stripes, stacked in a tight pyramid. About $9 for 24, 45 minutes; bake 3 days ahead, ice 2 days ahead. Best for: a color block that ties the palette together.
4. Meringue Ghosts
Piped meringue swirls with two mini chocolate chip eyes, baked low and slow. About $5 for 30 — the cheapest impressive item here — and they keep a full week in an airtight container. Best for: filling table space on a tiny budget.
5. Pumpkin Hand Pies
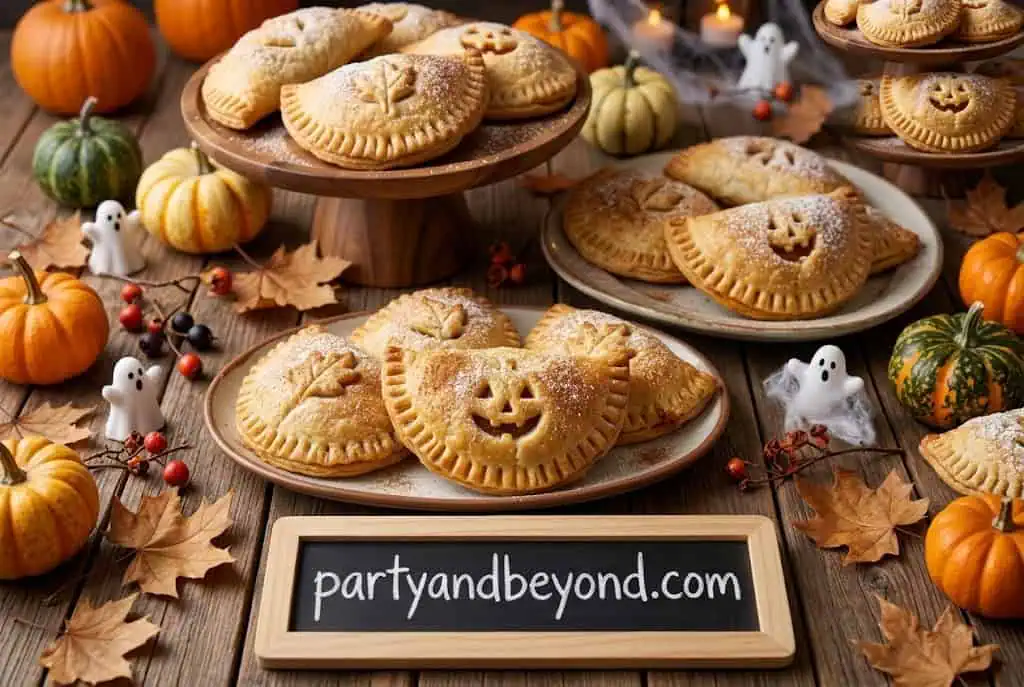
Store-bought pie crust cut into pumpkin shapes around spiced pumpkin filling, edges crimped, faces slit into the top crust. About $11 for 16, 50 minutes; bake the day before and re-crisp 5 minutes before serving. Best for: the fall-flavor slot, no plates or forks needed.
6. Monster Eye Cake Pops
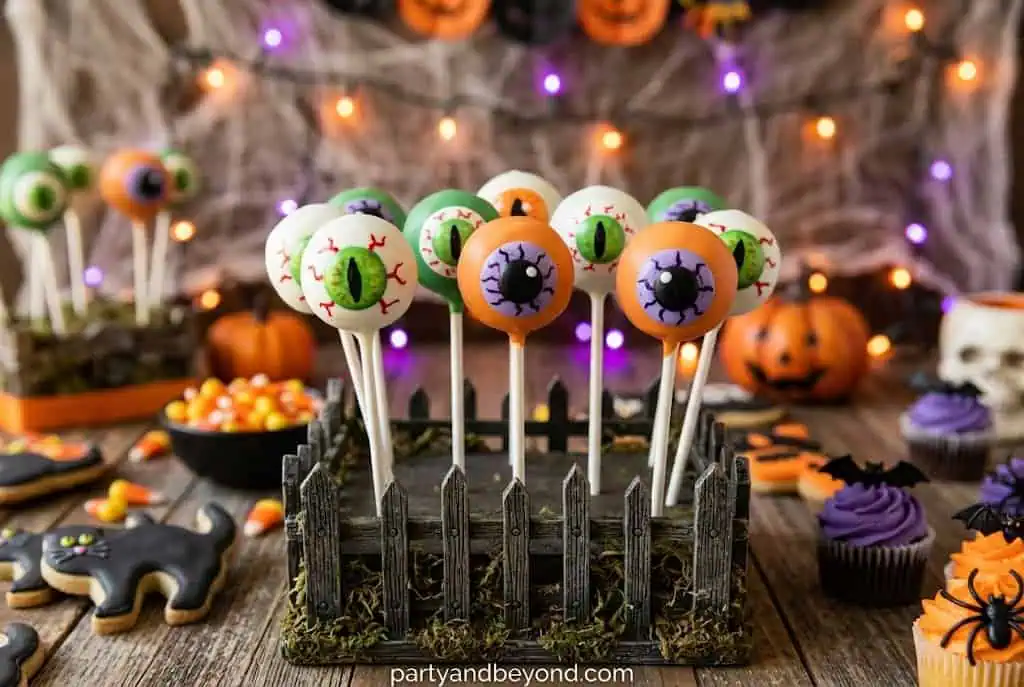
Cake pops dipped in green or white candy melts with one large candy eye each, standing in a foam block covered with black tissue. About $16 for 24, 90 minutes; make 2 days ahead. Best for: height variation and the kid magnet.
7. Mini Candy Apples
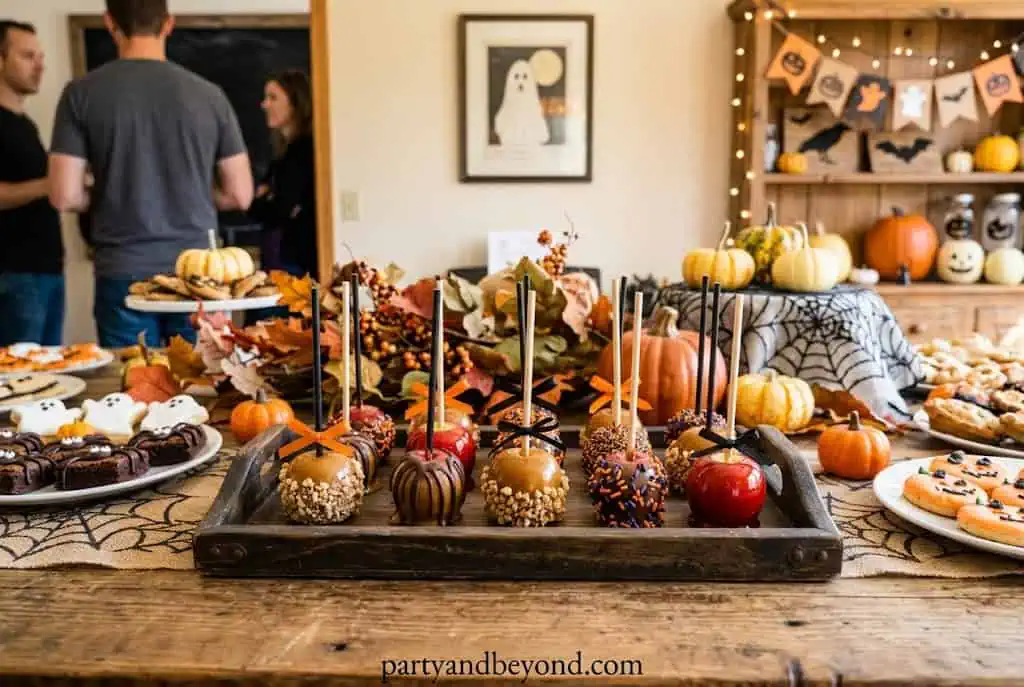
Small apples (or melon-baller apple rounds on sticks) dipped in red or black candy coating. About $13 for 16, 40 minutes, made the night before. Honest take: full-size candy apples mostly go unfinished — minis disappear. Best for: the glossy photo moment.
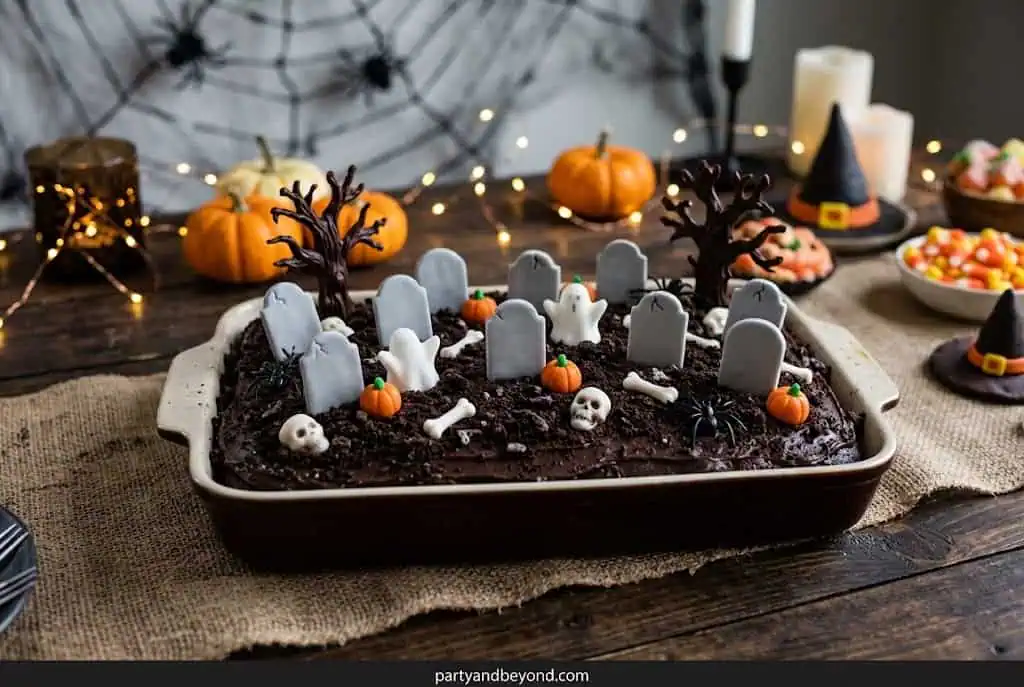
8. Graveyard Sheet Cake
A 9×13 chocolate sheet cake topped with crushed-cookie “dirt,” cookie tombstones, and a white-chocolate ghost or two. About $18, serves 20, 75 minutes total; bake a day ahead, decorate the morning of. Best for: the show piece if you’d rather skip a tiered stand.
Pro tip: Pick either the cupcake tower or the graveyard cake as your hero — not both. Two centerpieces compete; one centerpiece commands.
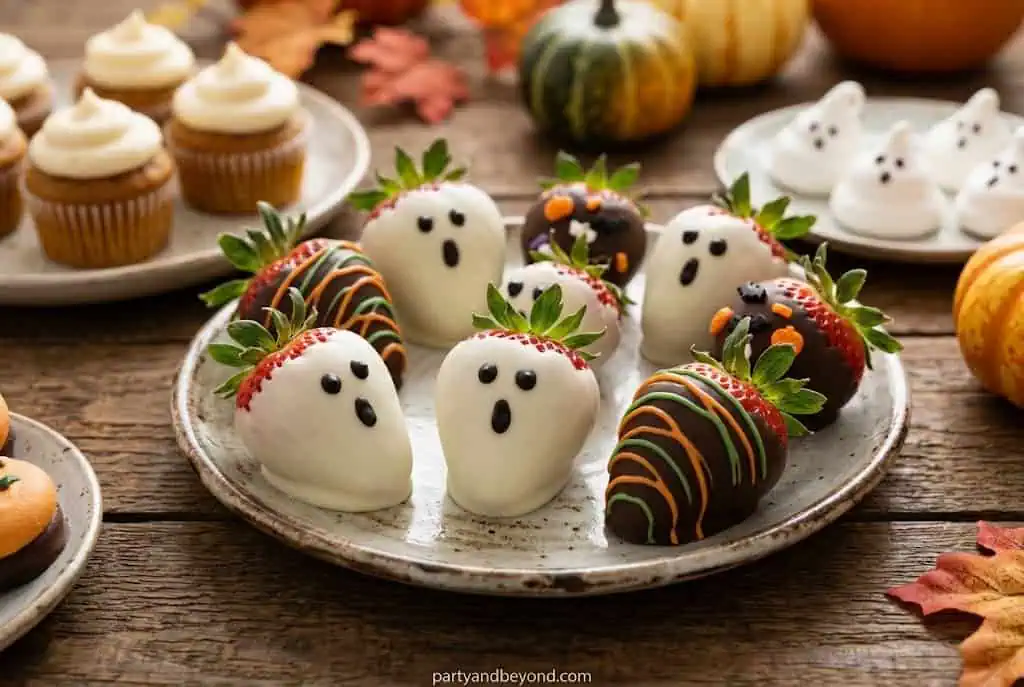
9. Chocolate “Boo” Strawberries
Strawberries dipped in white chocolate with edible-marker ghost faces drawn on once set. About $14 for 24, 30 minutes — the one item that must be made day-of (within 6 hours of serving). Best for: the fresh, lighter option.
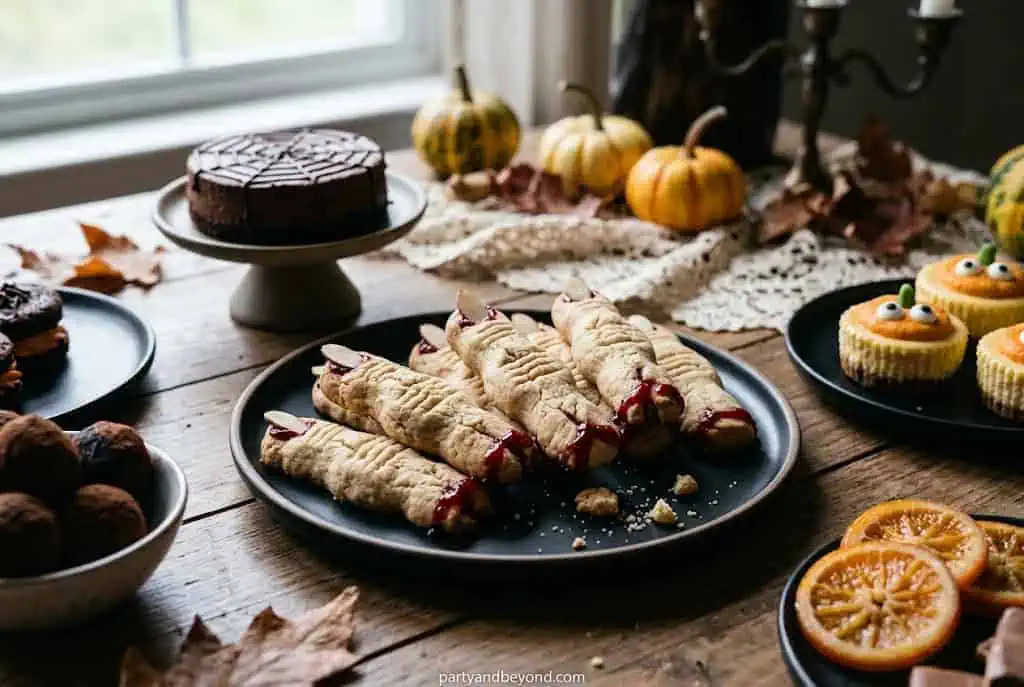
10. Witch Finger Shortbread
Buttery shortbread shaped into knobby fingers with a sliced-almond nail and a knuckle crease — creepier in cookie form than you’d expect. About $8 for 24, 45 minutes; bake 3 days ahead. Best for: maximum creep on the table.
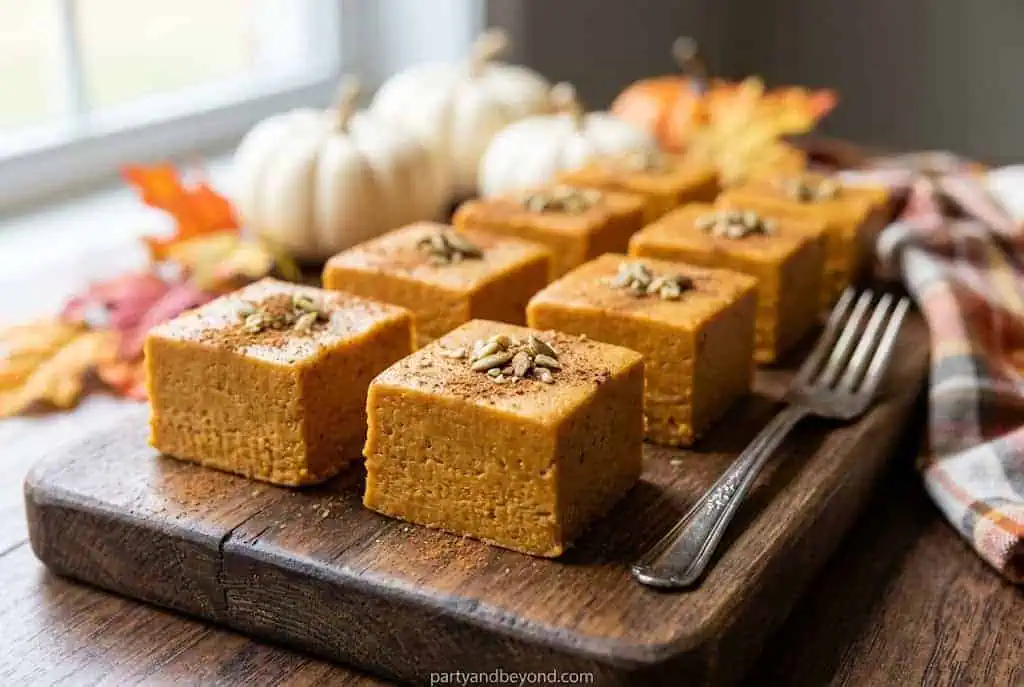
11. Pumpkin Spice Fudge
White chocolate fudge swirled with pumpkin and spice, cut into 1-inch squares. About $10 for 36 pieces, 20 active minutes plus chilling; keeps a full week. Best for: make-ahead density — one pan fills a whole platter.
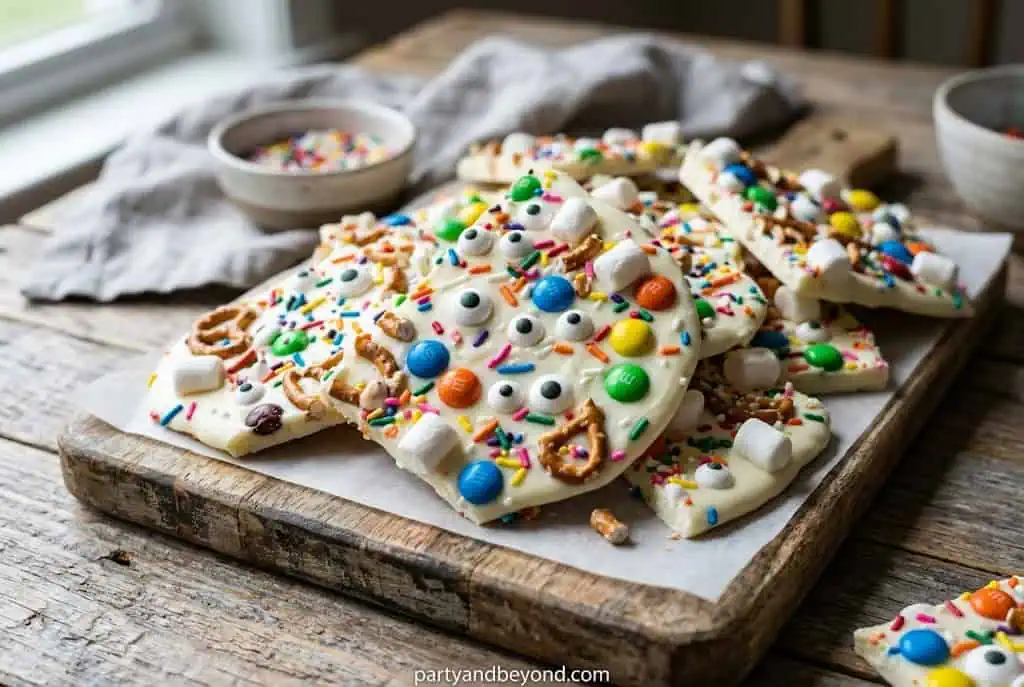
12. White Chocolate Monster Bark
White chocolate spread thin, swirled with purple and green candy melts, scattered with candy eyes and sprinkles, broken into shards. About $10 per tray, 15 minutes plus setting, keeps 5 days. Best for: the fastest big visual on the list.
13. Marker-Face Macarons
Store-bought macarons in orange and violet with tiny jack-o’-lantern and mummy faces drawn on in edible marker. About $15 for 20, 15 minutes of “work.” Semi-homemade and zero shame about it. Best for: an upscale touch without baking skills.
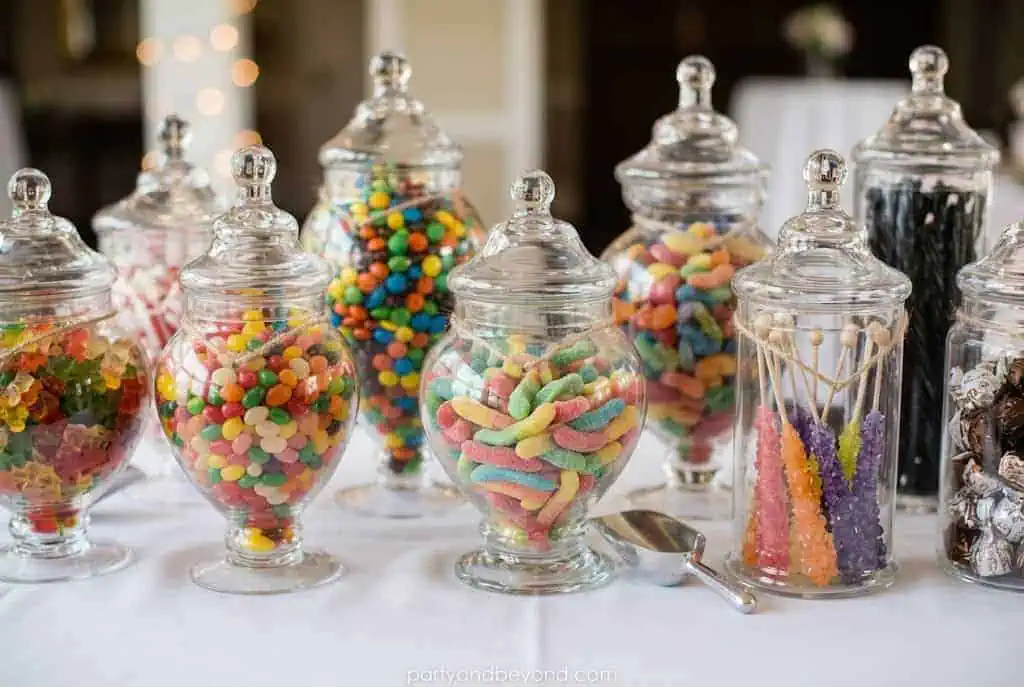
14. Candy Buffet Jars
Three to five glass jars (dollar store, $1.25–$3 each) filled with candy corn, gummy worms, foil eyeballs, and black licorice, with a scoop and treat bags beside them. About $25–$40 filled. Best for: height, color, and built-in party favors.
Pro tip: Buy candy from bulk bins and the dollar store, not the seasonal aisle — the same candy corn costs roughly half. Fill jar bottoms with crumpled paper and you’ll use a third less candy in tall jars.
How Far in Advance Can You Make Halloween Desserts?
Almost the entire table can be made 1–3 days ahead — only dipped fruit and final assembly belong on party day. Here’s the timeline I tape to my fridge:
3 days out: shortbread fingers, sugar cookies (un-iced), meringue ghosts, fudge, monster bark. Store airtight at room temperature.
2 days out: cheesecake, cake pops, candy jar shopping, ice the sugar cookies. Set up the backdrop tonight if the room allows.
1 day out: bake cupcakes and sheet cake (unfrosted), pumpkin hand pies, mini candy apples. Build the riser landscape under the tablecloth.
Party day: frost and decorate cakes in the morning, dip strawberries by early afternoon, arrange the table, place labels. Total day-of time: about 90 minutes, none of it baking.
Bakery vs. Homemade vs. Semi-Homemade: The Honest Math
Approach
Cost (15–20 guests)
Your Time
How It Looks
Stress Level
All bakery-bought
$160–$250
1 hour (pickup + arranging)
Polished but generic
Lowest
All homemade
$70–$110
6–8 hours over 3 days
Personal and impressive
Highest
Semi-homemade mix
$80–$140
3–4 hours over 3 days
Nearly identical to homemade
Moderate
My honest take: semi-homemade wins almost every time. Bake the hero pieces yourself, buy the macarons and the candy, and let edible markers and good styling close the gap. Guests remember the table, not the receipt trail.
Common Dessert Table Mistakes
The flat bake-sale lineup. No height means no drama. Three levels minimum, even if they’re cereal boxes.
Too many colors. Every Halloween color at once reads chaotic. Two or three, repeated, reads designed.
Baking on party day. Frosting at 4 p.m. with guests at 6 is how hosts end up hiding in the kitchen.
No serving plan. Stack small plates, napkins, and treat bags at the table’s front corner or guests will hover, unsure.
Dairy desserts out all night. Cheesecake and dipped strawberries follow the two-hour rule — set out partial platters and refill from the fridge.
People Also Ask
What desserts are best for a Halloween party?
The strongest performers combine make-ahead convenience with visual punch: graveyard sheet cake, monster bark, meringue ghosts, witch finger shortbread, and cake pops. Build around one centerpiece and add 4–5 hand-held treats so guests can graze without plates.
How many desserts do I need per person?
Plan 2.5–3 dessert servings per guest when the table is the main attraction, or 1.5–2 alongside a full party menu. For 20 guests, that’s roughly 50–60 total servings spread across 8–10 items — which sounds like a lot until the cake pops vanish.
How do you display Halloween treats?
Use a three-level layout: tall centerpiece at back center, jars and stands at the back corners, flat platters along the front edge. A floor-length dark tablecloth over hidden boxes creates the levels free, and a simple backdrop behind the table doubles the visual impact.
How do you make a candy table on a budget?
Dollar-store glass jars ($1.25–$3), bulk-bin candy instead of seasonal-aisle bags, crumpled paper filling the bottom third of tall jars, and a $6 black tablecloth. A five-jar candy display lands at $30–$40 and sends guests home with favors.
🎃 Quick Summary
✅ Best for: Halloween parties of 15–20 guests, all ages
💰 Budget: $80–$140 for a full 8–10 item table
⏱ Time: 3–4 hours spread over 3 days; 90 minutes day-of, zero baking
🌟 Top picks: graveyard sheet cake, meringue ghosts, candy buffet jars
📌 Don’t skip: the height triangle, a 2–3 color limit, and labels with allergy notes
Halloween Dessert Table FAQ
How much does a Halloween dessert table cost for 20 guests?
Plan $80–$140 using the semi-homemade approach: $50–$70 on homemade hero desserts, $25–$40 on candy jars, and $15–$30 on bought items like macarons. An all-bakery version of the same table runs $160–$250 — roughly double for the same visual result.
How many different desserts should the table have?
Eight to ten items for 15–20 guests: one centerpiece, four or five hand-held treats, two or three candy jars, and one show piece. Fewer than six looks sparse on a standard 6-foot table; more than twelve crowds the layout and stretches your prep across too many recipes.
What makes the best centerpiece?
A tiered cupcake tower or a decorated sheet cake on a raised stand — something at least 12 inches above the table surface. Pick one hero and support it; two competing tall pieces split the eye and weaken both.
How do I create height without buying cake stands?
Sturdy boxes, thick books, and upside-down baking pans under a floor-length tablecloth build three levels for free. One real cake stand ($8–$12 at discount stores) for the hero piece is the only purchase that meaningfully upgrades the look.
How do I store make-ahead desserts so they stay fresh?
Cookies, meringues, fudge, and bark go in airtight containers at room temperature for 3–7 days. Cheesecake, cake pops, and hand pies live in the fridge 1–2 days. Unfrosted cakes wrap tightly at room temperature overnight — frost only on party day so nothing smudges.
Can I set up a dessert table outdoors?
Yes, with three precautions: mesh food covers or individually wrapped portions against bugs, shade for anything chocolate-dipped (it softens above 75°F), and clips securing the tablecloth. Skip whipped or cream-based desserts outdoors entirely — they don’t survive the hour.
What’s the cheapest way to fill candy buffet jars?
Bulk bins and dollar-store bags over the seasonal aisle — the markup on Halloween-branded packaging is steep for identical candy. Crumpled black paper filling the bottom third of tall jars saves another few dollars while making the jars look fuller.
What semi-homemade desserts look homemade?
Store macarons with edible-marker faces, bakery sugar cookies re-iced in your color scheme, brownie-mix bases under homemade toppings, and store-bought pie crust on the pumpkin hand pies. Styling and color consistency do more for the table than from-scratch credentials.
How long can desserts sit out during the party?
Cookies, bark, fudge, meringues, candy, and frosted cakes hold 4+ hours at room temperature. Cheesecake, dipped strawberries, and anything with cream follow the two-hour rule — serve half, keep half chilled, and swap platters midway through the party.
How should I label desserts for allergies?
One small black tent card per item with the name plus key flags: “contains nuts,” “gluten-free,” “dairy-free.” The witch fingers (almond nails) and anything with hidden nuts deserve the clearest labels. Ten minutes of card-writing saves a night of ingredient interrogations.
What colors work best for a Halloween dessert table?
Pick one of three proven palettes and stay inside it: classic black-orange-white, moody black-purple-green, or elegant black-gold-white for adult parties. Repeat your palette in frosting, candy choices, jars, and labels so the table reads as one design instead of a potluck.
What do I do with leftovers?
Set out treat bags and a scoop at the candy jars and announce that guests build a favor bag on the way out. Sturdy items — cookies, bark, fudge — package beautifully; you keep the cheesecake, and your counters are clear by morning.
Set the Table, Then Enjoy It
Here’s the whole formula one more time: one hero, four or five hand-helds, three jars, three levels, three colors, three days. Follow that and your Halloween dessert table will look like it took a professional — while you spent party day arranging, not baking.
Save the timeline, tape it to the fridge, and start with the bark. By the time the doorbell rings, the only thing left to do is watch people reach for their phones before they reach for a plate. Happy haunting, friends.
Conclusion
A memorable Halloween dessert table isn’t about making the most desserts—it’s about creating the right mix of eye-catching presentation and crowd-pleasing treats. By choosing one standout centerpiece, adding a variety of easy-to-grab desserts, sticking to a simple color palette, and preparing most items in advance, you can build a display that looks professionally styled without spending a fortune or stressing on party day. Whether you go fully homemade or mix in a few store-bought shortcuts, thoughtful planning will make your dessert table the highlight of the celebration. Save your favorite ideas, follow the three-day prep timeline, and enjoy the party knowing your Halloween dessert table will impress guests before they even take their first bite. Happy Halloween!
Chloe Parker is the DIY decor and Halloween writer at Party & Beyond. Based in Denver, Colorado, she specializes in budget-friendly party decorations, family Halloween costumes, and creative crafts. With 10+ years of crafting experience, Chloe believes parties don't need to be perfect to be memorable , just made with love and a little hot glue.