Disclosure: This post contains affiliate links. If you buy through them, I may earn a small commission at no extra cost to you. All recommendations come from personal use and research.
I have a confession: I plan my entire Halloween decorating season around the dollar store’s seasonal aisle, and after ten-plus years of crafting in Denver, I can spot the $1.25 item hiding inside a $30 boutique piece from across the store.
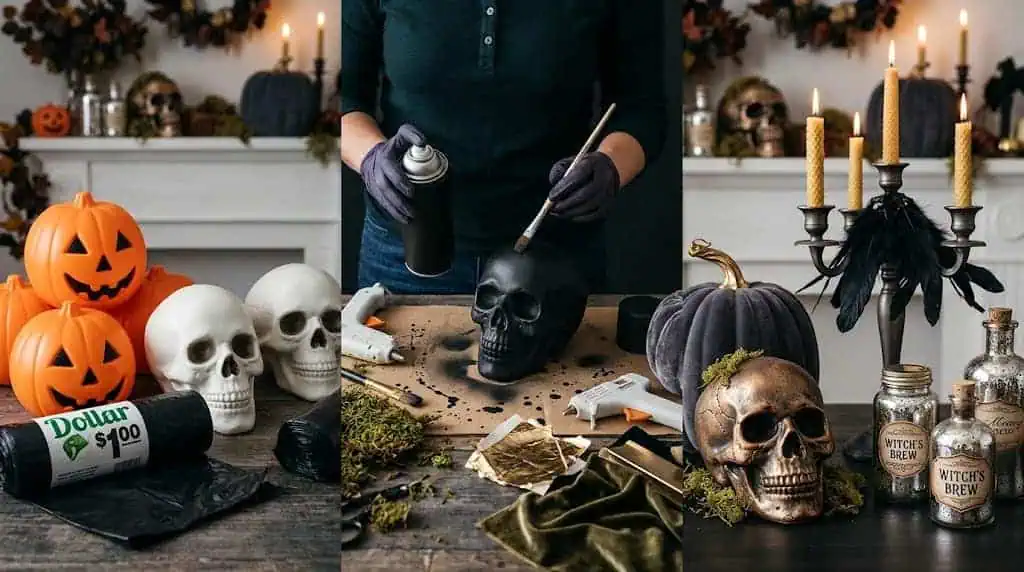
Dollar store Halloween decorations get a bad reputation because people use them straight off the shelf — glossy plastic, neon orange, price sticker still attached. That’s not decorating; that’s unpacking.
The 25 projects below all follow the same trick: buy the cheap bones, then change the finish. Every project lists exact supplies, real cost, time, and difficulty, and nothing here repeats our main DIY Halloween decoration guide — this list is strictly dollar-store sourcing, the $1.25-to-high-end pipeline.
What Can You Make From Dollar Store Halloween Supplies?
You can make nearly every category of Halloween decor from dollar store supplies: apothecary jars, potion bottles, gothic candlestick clusters, cemetery urns, cheesecloth ghosts, framed specimens, and full porch scenes — usually at 10–20% of the retail price for the equivalent look.
You’re in good company doing it, too: 78% of Halloween shoppers buy decorations, and discount stores are the top shopping destination at 42% (NRF 2025). The dollar store gives you the raw shapes; paint, cheesecloth, and clustering give you the style.
What Should You Grab First at the Dollar Store?
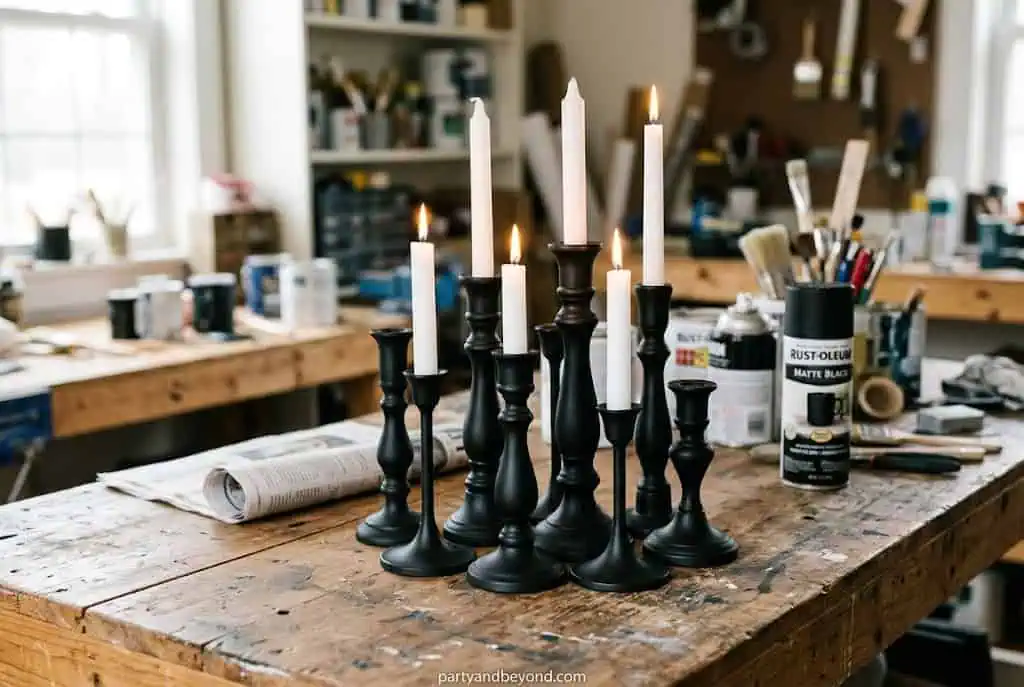
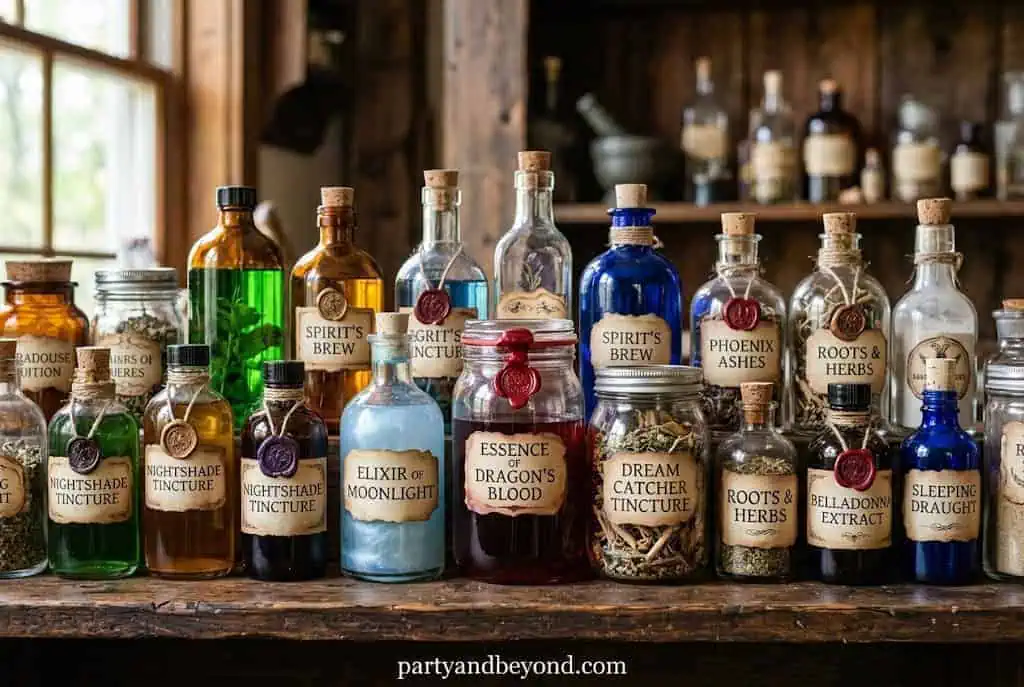
Grab the glass first — vases, jars, candlesticks, and frames are the most transformable $1.25 items in the building and they sell out fastest in October. My standard haul list before any project: 4–6 glass vases and jars, 3 glass or plastic candlesticks, 2–3 picture frames, foam pumpkins and skulls, cheesecloth or white fabric, plastic spiders and skeleton parts, and LED tea lights.
One supply to buy elsewhere: spray paint. Hardware store matte black ($4–$5) covers in one coat; bargain paint takes three and still looks streaky.
Pro tip: Shop the glassware and craft aisles, not just the Halloween section. The year-round $1.25 vases, frames, and candlesticks are the real raw material — the seasonal aisle is where you grab spiders, webs, and skeleton parts.
Spray Paint Upgrades (The 20-Minute Transformations)
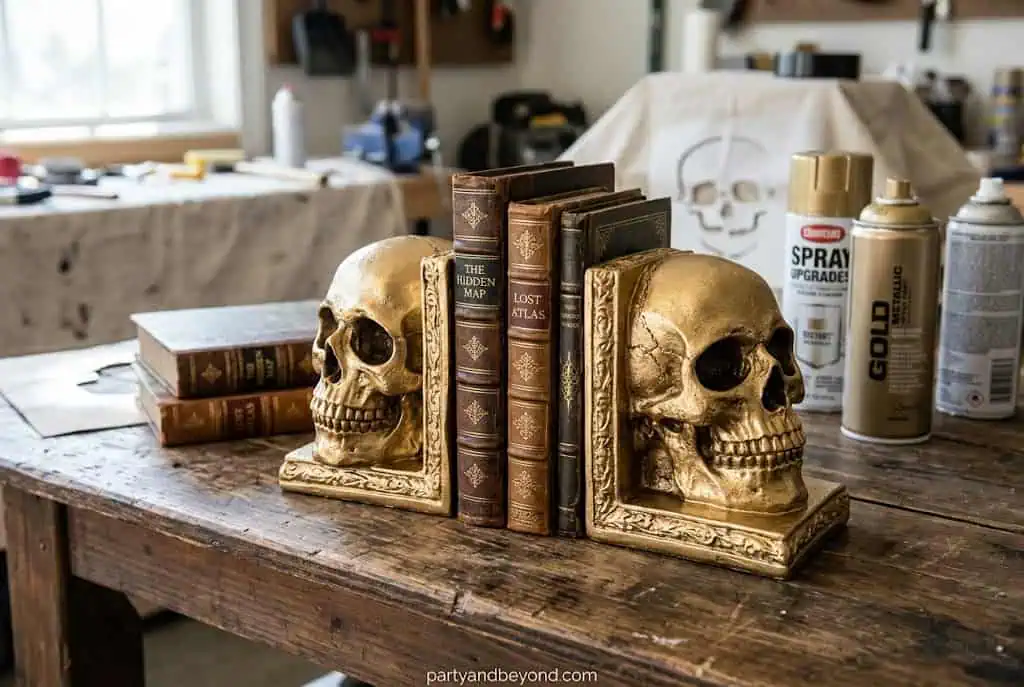
Two foam skulls ($2.50) hit with gold spray paint, set flanking your darkest books. 15 minutes, easy. Best for: shelf styling that stays up through November.
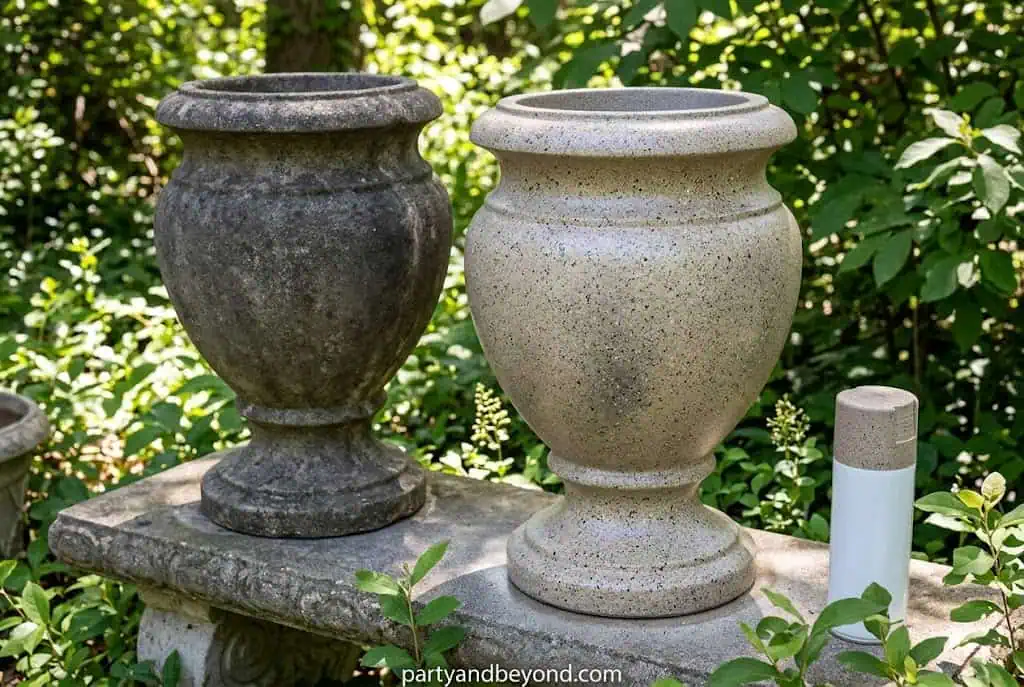
Plastic planters ($2.50) sprayed gray, then dry-brushed with black craft paint for aged stone texture; fill with black branches from the floral aisle. About $6 each, 30 minutes. Difficulty: easy-medium. Best for: porch symmetry on a $12 budget.
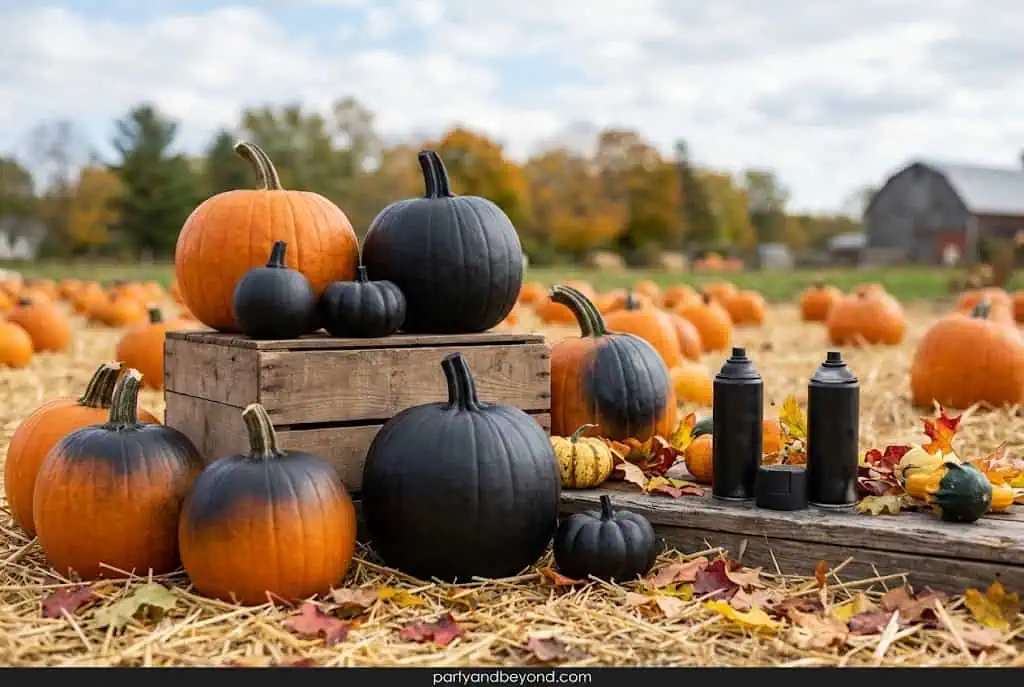
4. Matte Black Pumpkin Patch
Five foam pumpkins ($6.25) in matte black with stems brushed gold. 20 minutes plus drying, easy. The glossy orange originals look cheap; the matte black versions look like a catalog page. Best for: table runners and tiered trays.
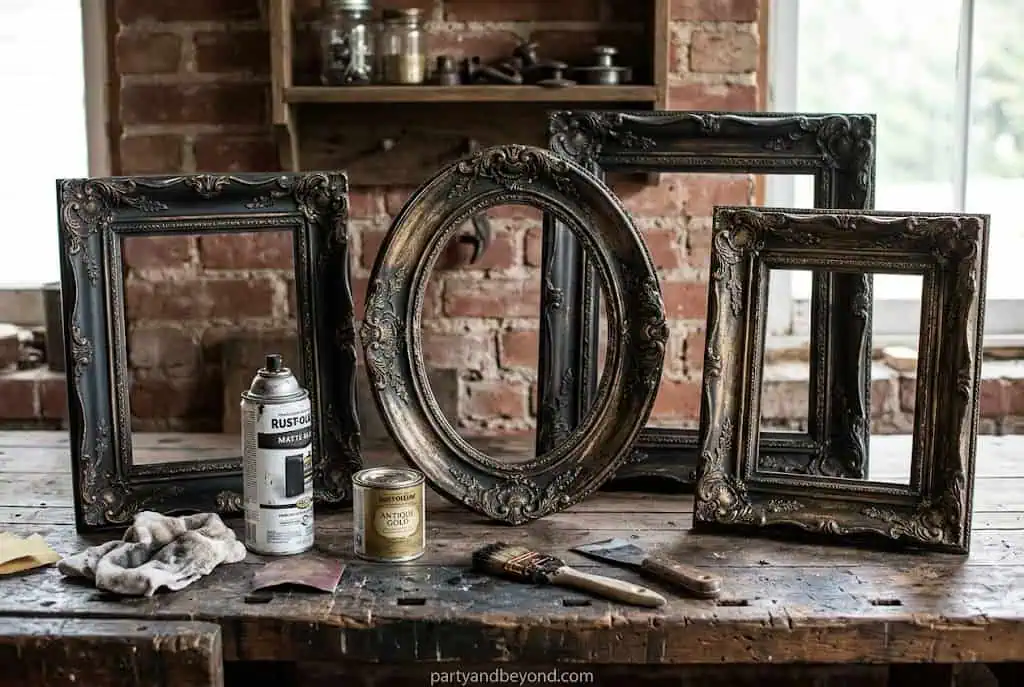
Dollar frames sprayed black, edges sanded for wear, filled with public-domain vintage portraits printed at home (slightly crooked on purpose). About $2 per frame, 25 minutes. Best for: a haunted gallery wall up the staircase.
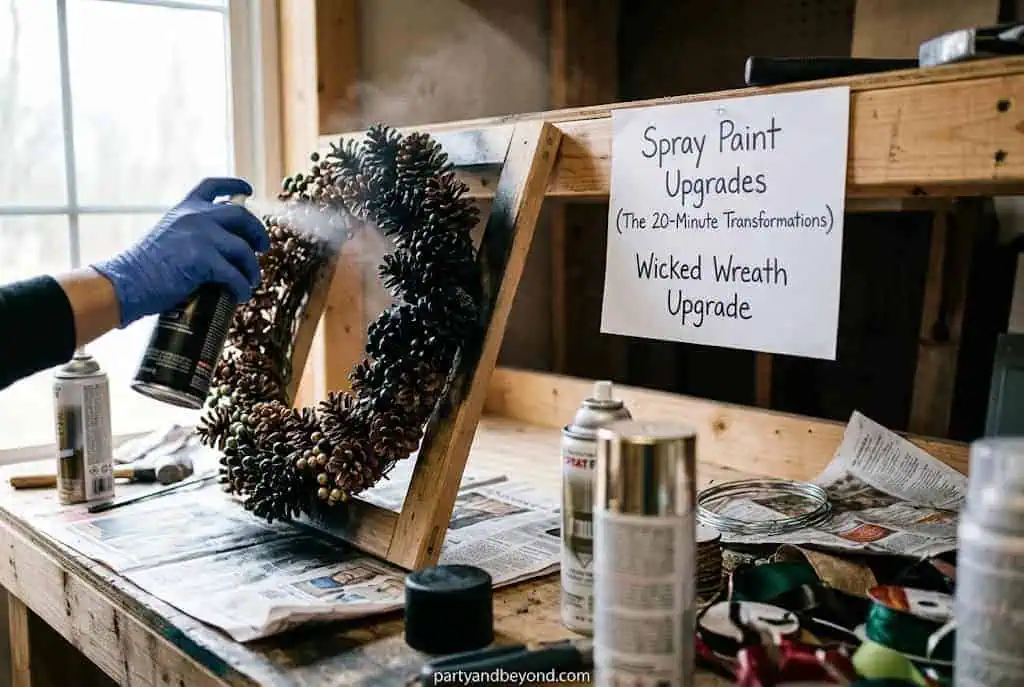
6. Wicked Wreath Upgrade
A plain dollar store wreath sprayed black, woven with $1.25 floral picks and a strip of cheesecloth. About $6, 30 minutes, easy. Best for: the front door’s first impression.
Pro tip: Matte finish is the whole game. Glossy plastic screams dollar store; matte paint reads ceramic, iron, or stone in photos. If you only follow one rule in this article, make it this one.
Hot-glue a glass vase ($1.25) on top of a glass candlestick ($1.25) and you’ve built the $15–$20 boutique apothecary jar for $2.50 plus filler — black beans, moss, or plastic eyeballs. 20 minutes for a set of three. Best for: the single biggest money-saver on this list.
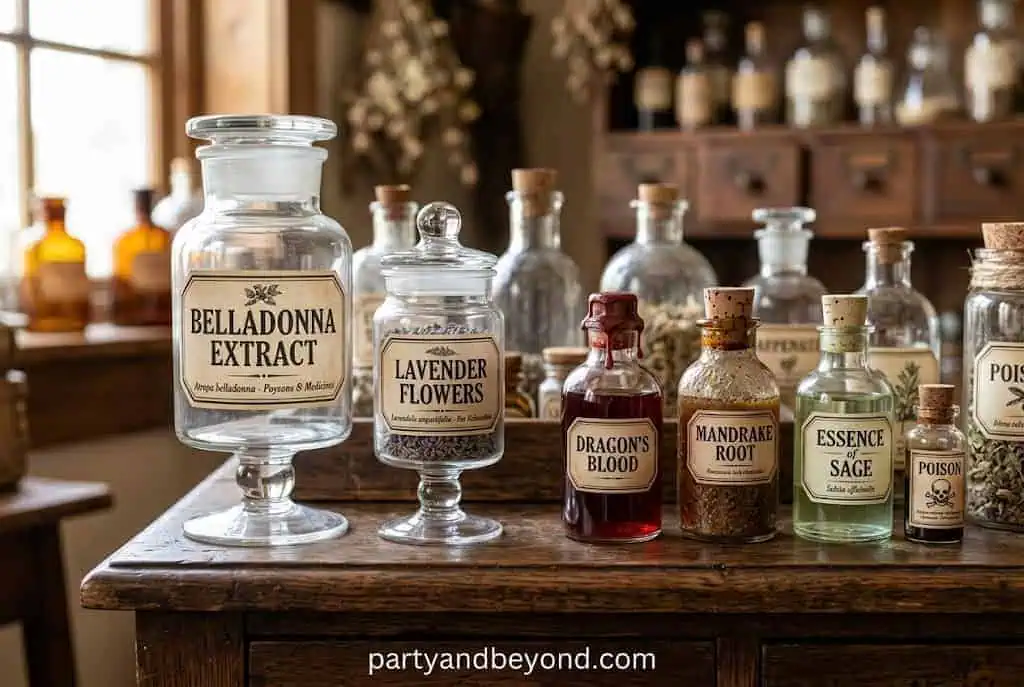
8. Potion Bottle Collection
Six assorted glass bottles ($7.50), labels printed on paper you’ve tea-stained and dried, corks or candle-wax-dripped tops. About $9 total, 45 minutes. Difficulty: medium. Best for: the witch’s shelf vignette everyone leans in to read.
Jars filled with water, a drop of green or yellow food coloring, and one plastic creature each — spider, eyeball, skeleton hand. About $2 per jar, 15 minutes for a set. Best for: the bathroom counter scare.
Dollar hardcover notebooks with hot-glue swirl designs on the covers, painted black, dry-brushed gold and bronze. About $4 for a stack of three, 40 minutes plus drying. Best for: styling under the apothecary jars.
11. Crystal Ball
A glass bowl or globe ($1.25) upside down over a color-changing LED tea light on a black-painted candlestick. About $3.75, 10 minutes. Best for: the fortune-teller corner.
Cheesecloth Ghosts and Creepy Fabric
12. Stiffened Cheesecloth Ghosts
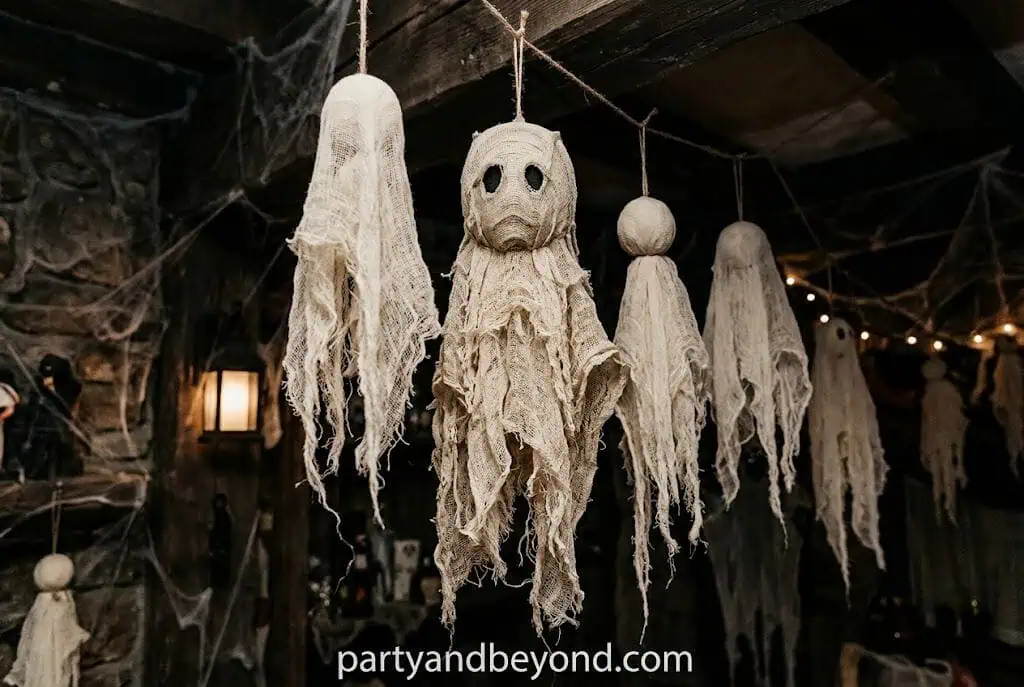
Drape cheesecloth soaked in equal parts glue and water over a bottle-and-foam-ball form, let it dry overnight, lift it off, add black felt eyes. About $2.50 each, 30 minutes active. Best for: floating shelf ghosts that hold their shape for years.
13. Window Silhouettes
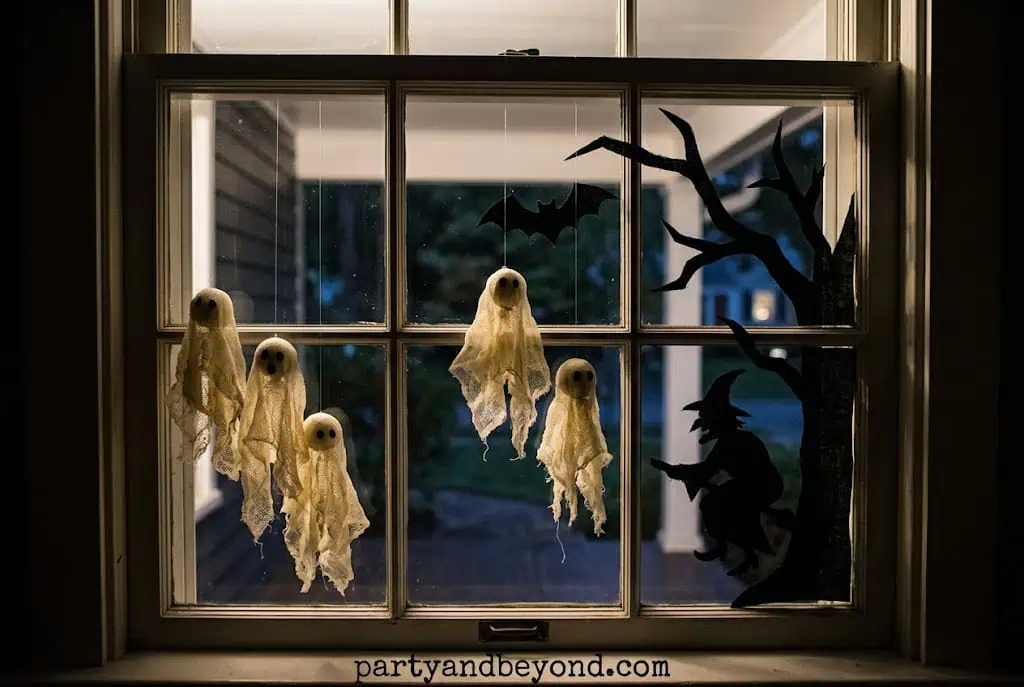
Black poster board ($1.25 per sheet) cut into cats, witches, and reaching hands, taped facing outward in upstairs windows. About $2.50 per window, 30 minutes.
Best for: curb appeal after dark with lights on inside.
14. Tattered Doorway Curtain
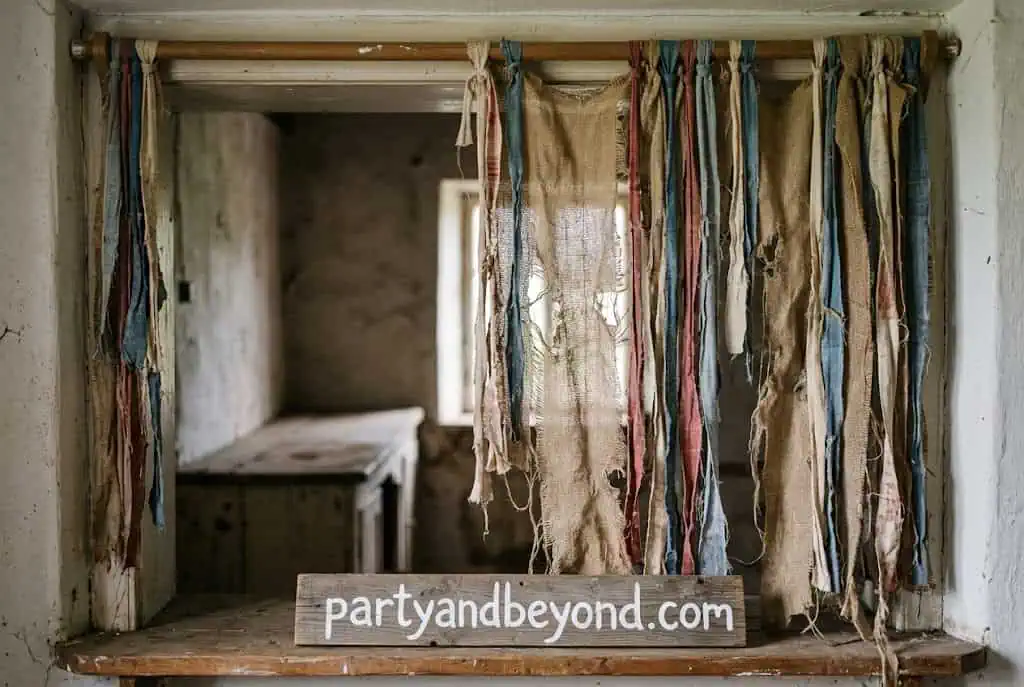
Two black plastic tablecloths ($2.50) cut into vertical strips and taped above a doorway so guests walk through. 15 minutes, easy. Best for: the party entrance transformation.
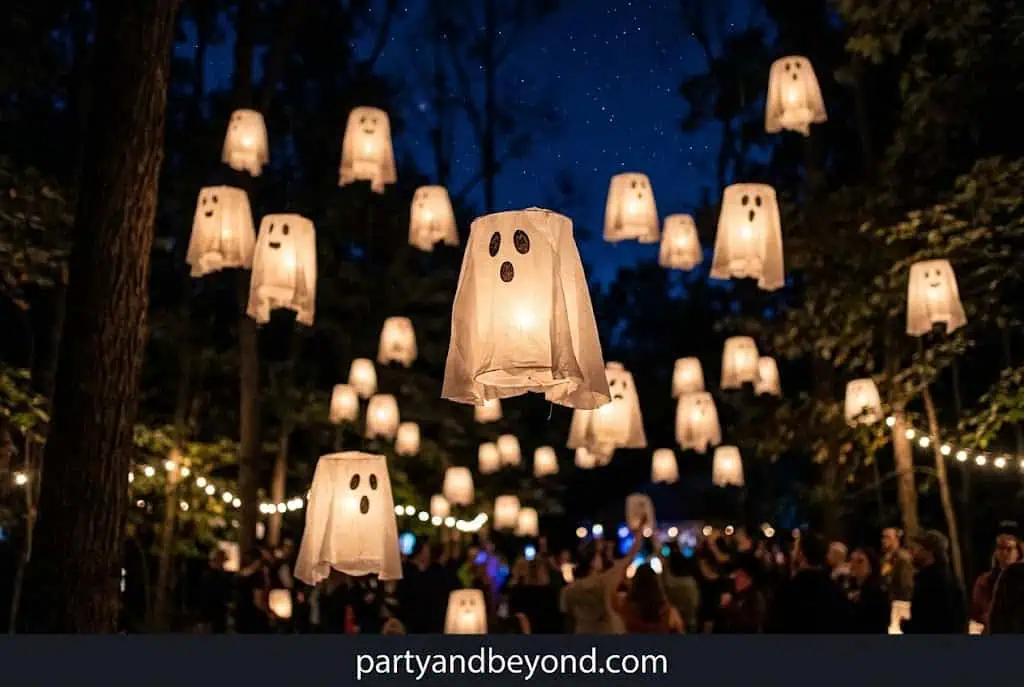
Cheesecloth draped over LED puck lights, gathered with clear thread, hung from fishing line at staggered heights. About $3 each, 20 minutes. Best for: covered porches and party corners.
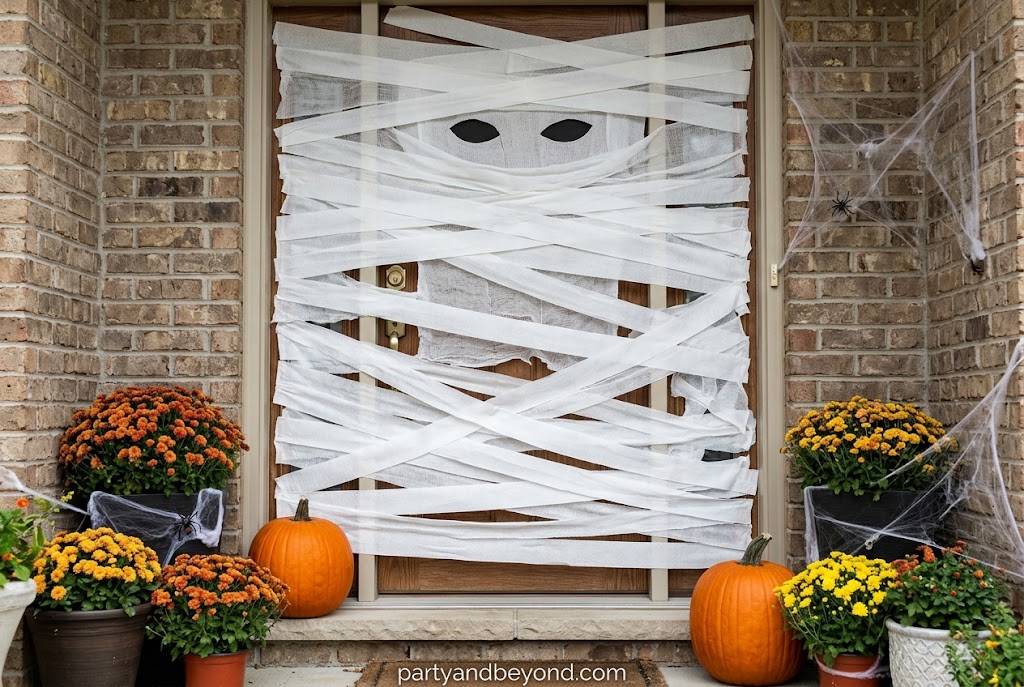
White crepe paper or fabric strips wrapped across the door with two big googly eyes peeking out. About $3.75, 20 minutes. Best for: kid-friendly houses that want fun over fright.
Skeleton Hacks
17. Skeleton Garden Hands
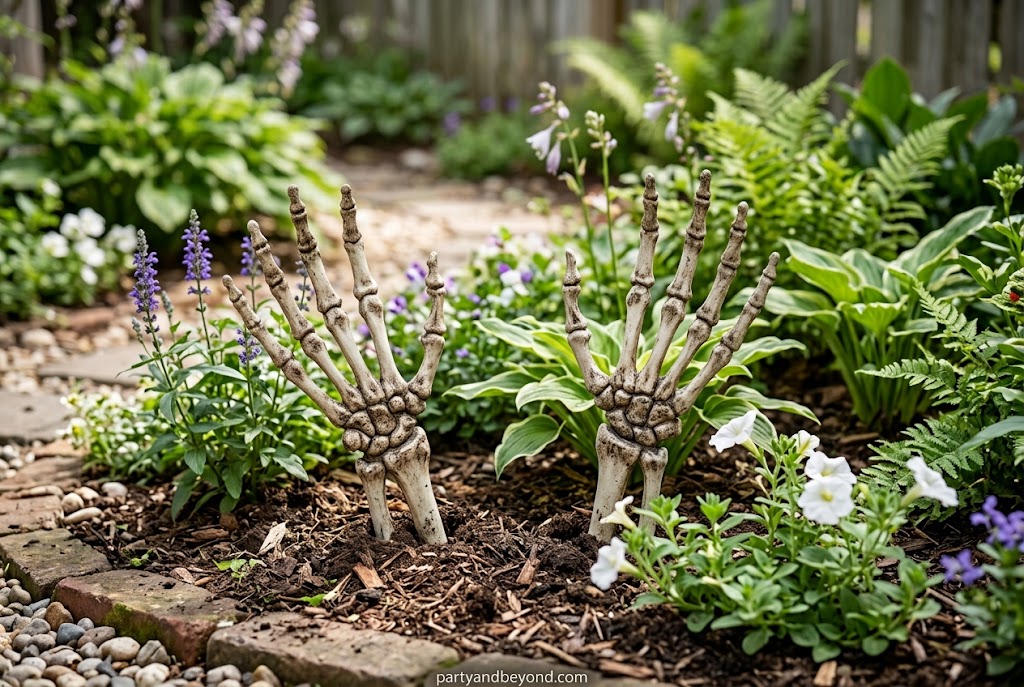
Plastic skeleton hands ($1.25 a pair) planted rising from flowerpots and garden beds. 5 minutes, easiest project here. Best for: the walkway double-take.
18. Framed Specimen Collection
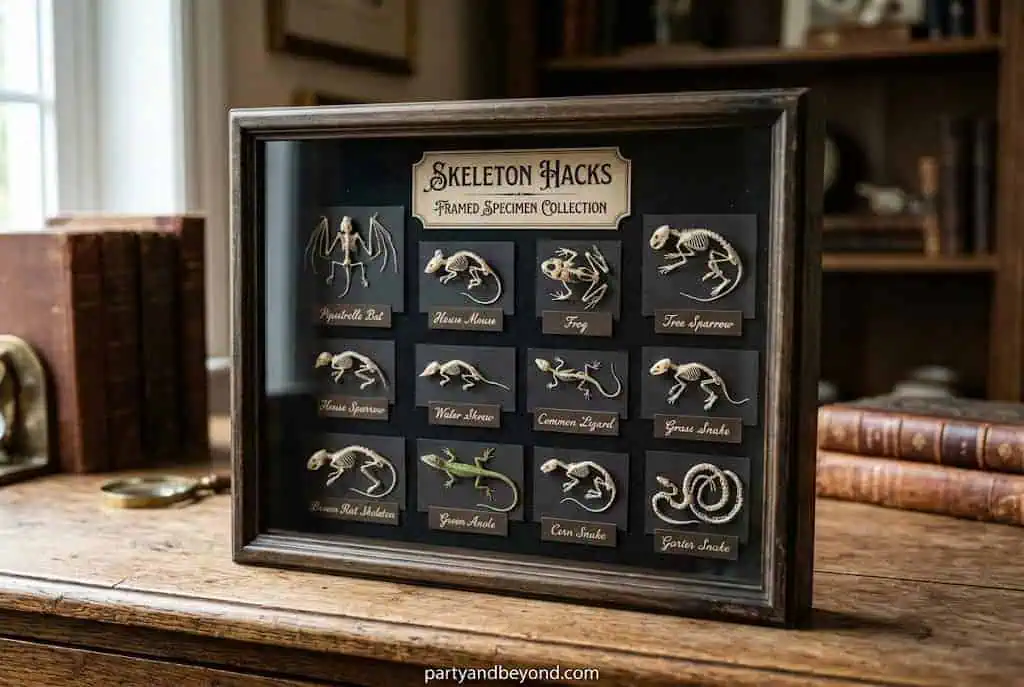
Mini skeletons (bats, spiders, lizards from the toy bin) hot-glued inside black-painted frames with hand-written labels. About $2.50 per frame, 15 minutes each. Best for: a curiosity-cabinet gallery wall.
19. Skeleton Terrarium
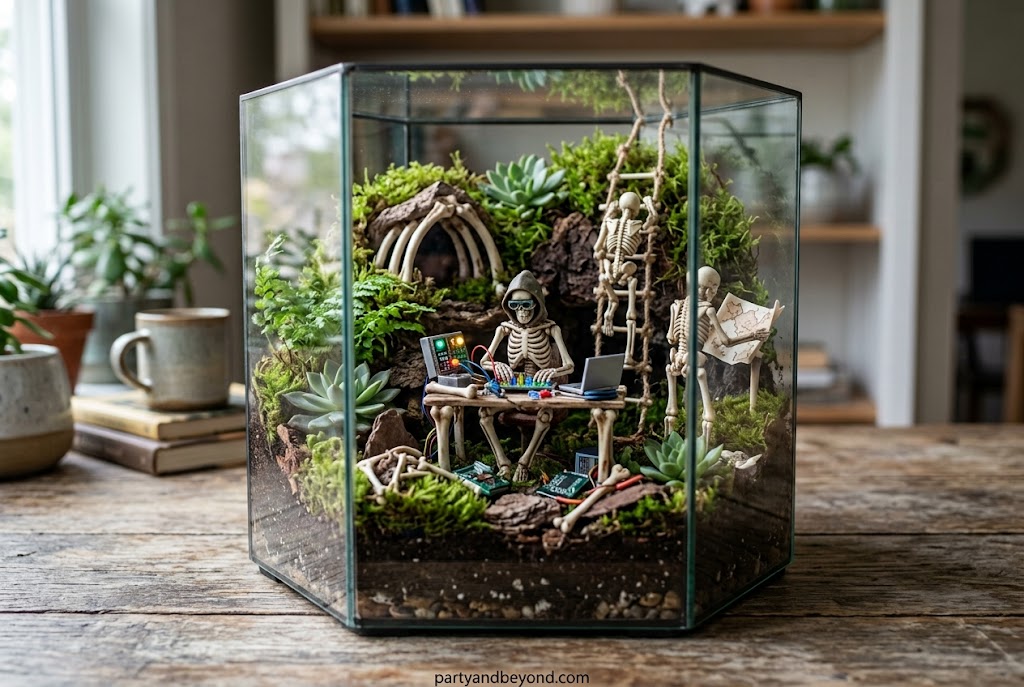
A glass bowl or jar with moss, pebbles, and one mini skeleton arranged inside. About $5, 15 minutes. Best for: desks and bookshelves that need one quiet weird thing.
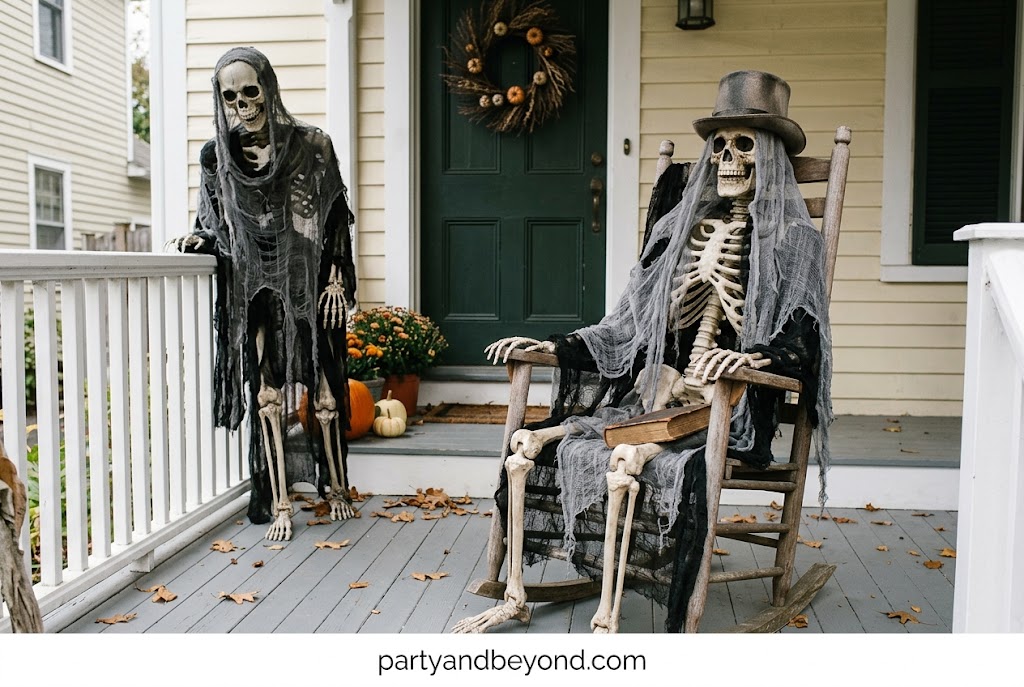
Dollar hanging skeletons wrapped in torn cheesecloth shrouds, sprayed lightly with gray for age, hung at different heights. About $5 each finished, 20 minutes. Best for: upgrading the flattest item in the seasonal aisle.
Pro tip: Dollar store skeletons are proportioned strangely — that’s fine. Wrap, drape, or partially bury them and the cheap proportions disappear while the silhouette does the work.
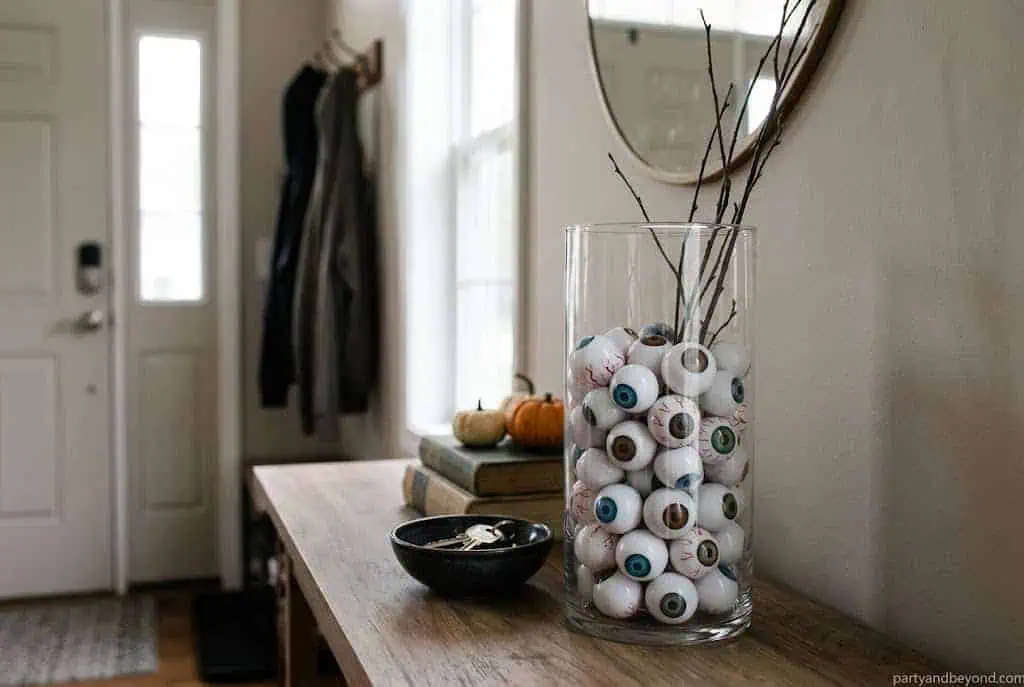
Clear vases layered with black beans and plastic eyeballs. About $3 per vase, 5 minutes. Best for: instant weirdness on any flat surface.
22. Giant Corner Spider Web
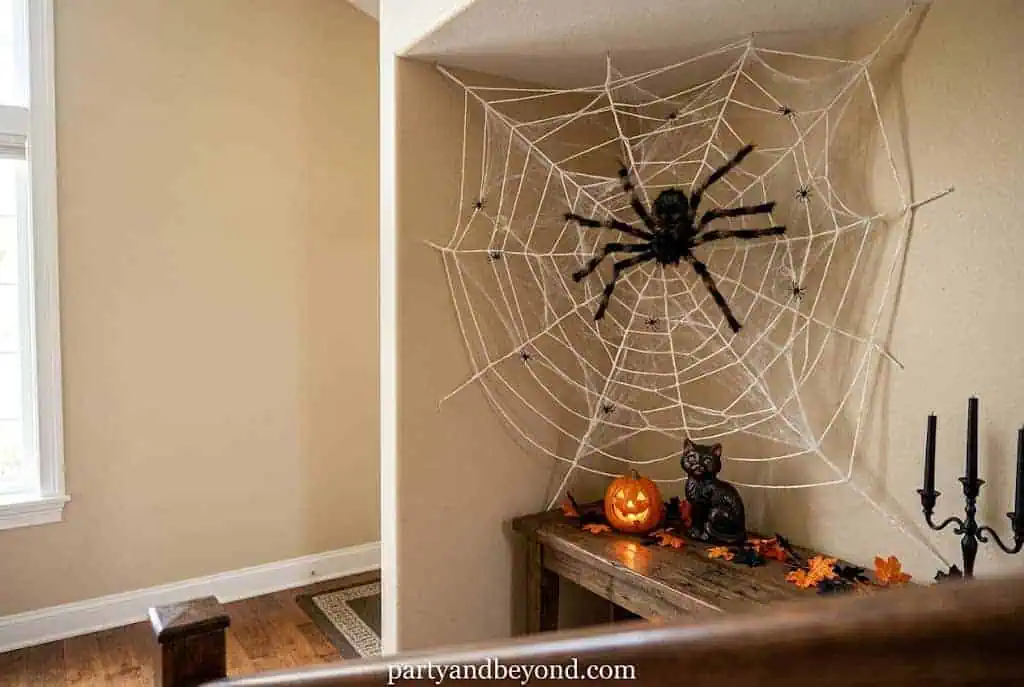
One stretch-web bag ($1.25) pulled tight (thin and taut, never clumped) across a ceiling corner with six spiders climbing it. About $2.50, 10 minutes. Best for: filling the empty upper third of a room.
23. Bat Wall Colony
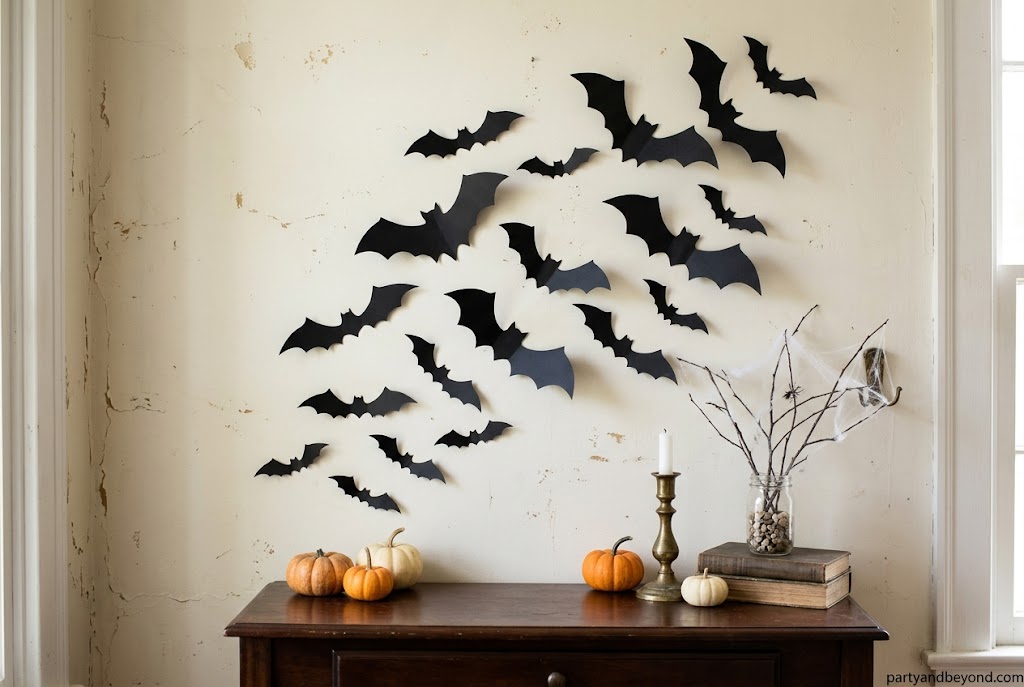
Thirty cardstock bats ($2.50 in materials) cut from a folded template, wings bent upward, taped in a swarm arc from a doorway toward the ceiling. 30 minutes. Best for: the photo-backdrop wall.
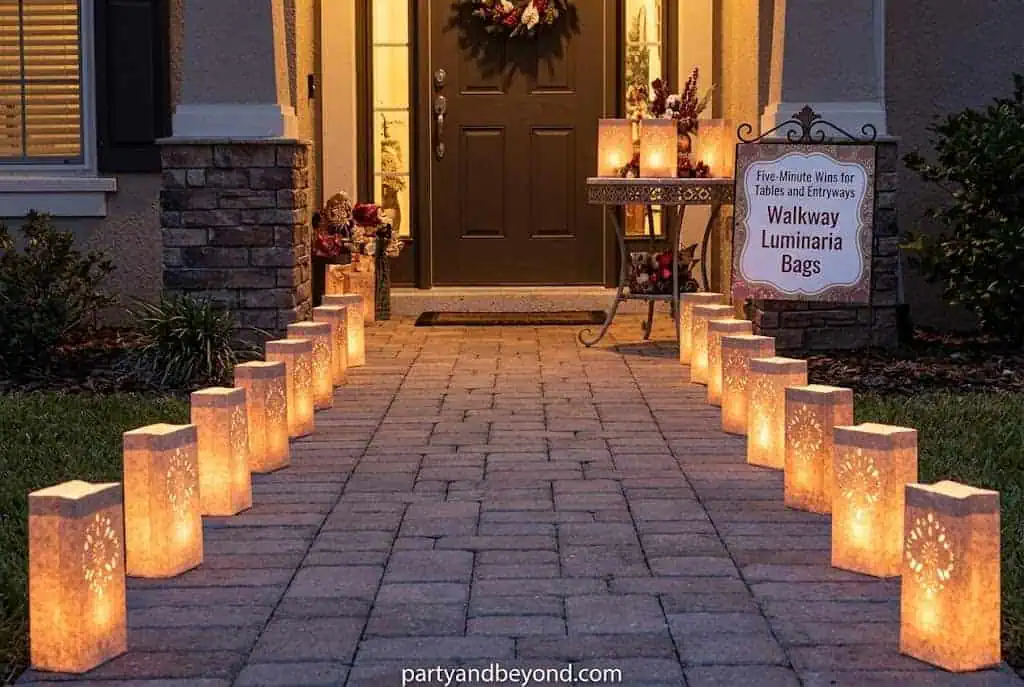
White paper lunch bags with jack-o’-lantern faces cut out, weighted with sand or rice, lit with LED tea lights. About $5 for ten, 25 minutes. Best for: party-night curb appeal.
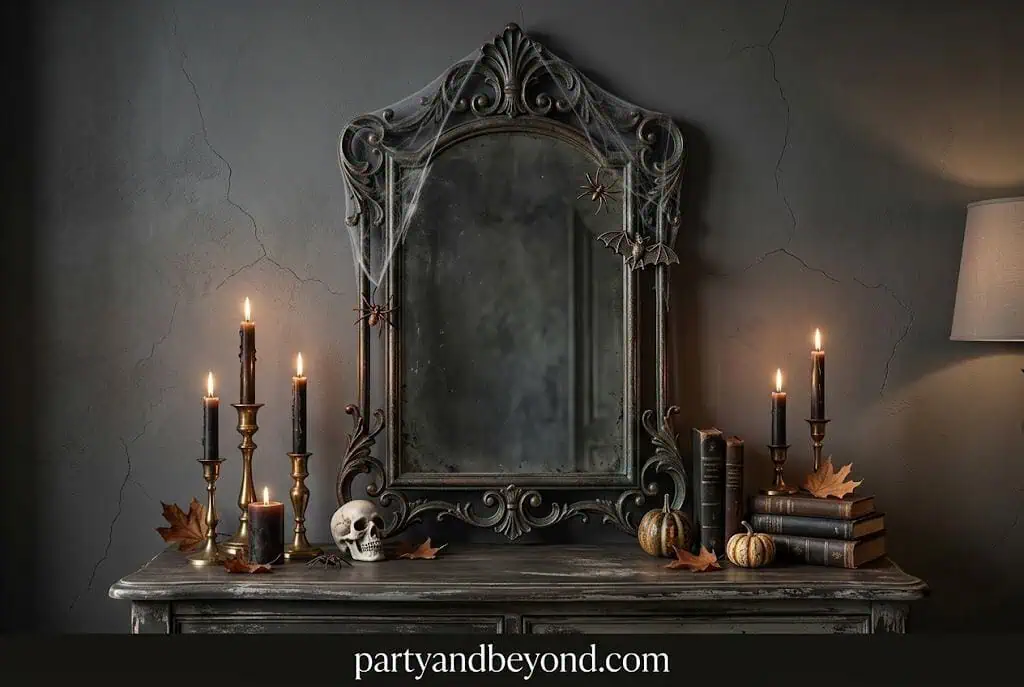
A dollar store mirror with its frame painted black and aged with gold dry-brushing, draped with a torn cheesecloth corner. About $3.50, 20 minutes. Best for: the entryway moment guests notice second — and remember first.
How Do You Make Dollar Store Decorations Look Expensive?
Five rules do all the work: paint everything matte (glossy plastic is the giveaway), commit to a 2–3 color palette across the whole house, remove or cover every label and price sticker, cluster items in odd-numbered groups instead of spreading them out, and age new finishes with a dry brush of contrasting paint.
Follow those five and a $25 haul photographs like a boutique order — skip them and even expensive decor looks scattered.
Dollar Store DIY vs. Retail: The Receipts
Project
Dollar Store DIY Cost
Retail Equivalent
Time
Apothecary jar set (3)
$7.50 + filler
$45–$60
20 min
Gothic candlestick trio
$8 with LED candles
$30–$40
20 min
Cemetery urn pair
$12
$50+
60 min
Potion bottle set (6)
$9
$35–$45
45 min
Cheesecloth ghost trio
$7.50
$40–$55
90 min + drying
Honest take: not everything is worth making. Dollar store string lights and motion-sensor props are where I spend up at a regular retailer — the cheap versions fail by mid-October. Paintable, glueable, drapeable items are where the dollar store wins every time.
Common Dollar Store Decorating Mistakes
Using items straight off the shelf. Unpainted glossy plastic is why people doubt dollar store decor. Twenty minutes of paint changes everything.
Buying every color. Neon green, purple, AND orange in one room reads carnival. Pick a palette before you shop.
Clumped spider webs. Stretch webbing until it’s nearly transparent — thin and taut is creepy, cotton-ball clumps are not.
Real candles in dollar glassware. Thin glass plus open flame is a genuine hazard. LED tea lights only, everywhere, always.
Skipping the clear coat outdoors. One $5 can of clear sealer keeps painted porch pieces alive through rain and frost.
People Also Ask
When should I shop dollar stores for Halloween?
Late August through mid-September — seasonal stock hits shelves early and the best glassware and skeleton items sell out weeks before Halloween. You’re not alone shopping early: 49% of consumers begin Halloween shopping in September or earlier (NRF 2025).
What’s the best dollar store item to transform?
Glass candlesticks and vases. They hot-glue into apothecary jars, pedestals, and crystal balls, take spray paint beautifully, and cost $1.25 against $15–$20 retail equivalents — the highest value-per-dollar transformation in the store.
How much should I budget to decorate a whole house from the dollar store?
$40–$60 covers a mantel, an entry, a porch, and two or three table vignettes using the projects above, plus one $5 can of good spray paint. The same coverage in store-bought decor runs $200–$350.
Do dollar store decorations hold up year to year?
Painted and sealed pieces last 3–5 seasons stored in one labeled bin; stiffened cheesecloth ghosts hold their shape indefinitely. The throwaways are the un-modified items — thin webs, paper banners — which is another argument for the upgrade projects.
🎃 Quick Summary
✅ Best for: budget decorators, renters, and first-time Halloween hosts
💰 Budget: $1.25–$5 per project; $40–$60 decorates the whole house
⏱ Time: 5–45 minutes per project; one weekend for a full haul
🌟 Top picks: pedestal apothecary jars, matte black candlestick cluster, cheesecloth ghosts
📌 Don’t skip: matte spray paint, a 2–3 color palette, and LED-only candles
Dollar Store Halloween Decorations FAQ
How much does it cost to decorate for Halloween with dollar store supplies?
Plan $40–$60 for a full house — entry, mantel, porch, and tables — including a $5 can of quality spray paint. Individual projects run $1.25–$5 in supplies. The same visual coverage from seasonal retail aisles typically costs $200–$350.
Which spray paint works on dollar store plastic and foam?
Any matte spray paint labeled for plastic works on the plastic items; for foam skulls and pumpkins, use water-based or craft spray paint — standard solvent sprays can melt foam. Buy paint at the hardware store ($4–$5): one-coat coverage beats three coats of bargain paint.
What dollar store items should I skip?
String lights (early failure rate is high), anything battery-operated with moving parts, and thin “one-night” props you can see through on the shelf. Spend those dollars on glass, foam, fabric, and skeleton parts — the categories that paint and glue can genuinely upgrade.
How do I make the apothecary jars from vases and candlesticks?
Run a ring of hot glue around the candlestick top, press the vase base onto it, hold 30 seconds, and reinforce with a second glue ring where they meet. Fill with black beans, moss, eyeballs, or candy. Total cost $2.50 per jar against $15–$20 retail.
How do I stiffen cheesecloth for ghosts?
Mix equal parts white glue and water, soak the cheesecloth, wring lightly, and drape it over a form (a bottle with a foam ball on top works). Let it dry 12–24 hours, slide the form out, and the ghost stands on its own. Fabric stiffener spray works too at about $4.
Are these projects safe to do with kids?
Most are — luminaria bags, bat cutting, eyeball vases, and specimen jars are great kid projects. Adults handle the spray paint (outdoors, ventilated) and the hot glue gun. Swap hot glue for tacky glue on any project a child is assembling solo.
How do I make outdoor pieces survive the weather?
Seal every painted outdoor piece with one coat of clear matte spray sealer ($5), weigh down light items with sand or pebbles inside, and bring cheesecloth pieces in before rain. Sealed urns and luminarias routinely last 3–4 seasons in my experience.
What’s the fastest project on this list?
Skeleton garden hands: open the package, plant them in a flowerpot, done in 5 minutes for $1.25. The eyeball vase filler and the corner spider web both finish inside 10 minutes — the three of them together make a same-day decorating sprint possible.
How do I store everything for next year?
One labeled bin per zone (porch, mantel, tables), glass pieces wrapped in the cheesecloth you’ll reuse anyway, and painted items separated by paper so finishes don’t stick together. A $6 bin protects $60 of work — the easiest math in this article.
Can renters do these projects without losing a deposit?
Yes — everything here attaches with removable poster tape, fishing line over hooks, or sits on surfaces. The bat colony, window silhouettes, and doorway curtain are fully damage-free, and nothing on this list requires a single nail or screw.
What’s the one supply worth buying at full price?
A real hot glue gun with full-size sticks ($10–$12). The mini dollar versions run cold, jam, and die mid-project. Ten years of crafting later, my glue gun has outlasted every other tool I own — and half my furniture opinions.
How do I keep my house from looking like a dollar store explosion?
Pick one palette (black-gold, black-white, or classic orange-black), paint everything to match it, and group pieces into 3–5 styled vignettes instead of sprinkling items everywhere. Restraint plus repetition is what reads expensive — at any budget.
Go Raid the Seasonal Aisle
Here’s your starter mission: one trip, $20, and three projects — the apothecary jars, the candlestick cluster, and a bag of skeleton hands for the planters. That’s a styled mantel and a porch surprise for less than the cost of one boutique jar.
And when a guest picks up your $2.50 apothecary jar and asks where it’s from, you’re under no obligation to answer honestly. Some magic deserves its secrets. Happy crafting, friends.
Conclusion
With a little creativity, a few basic craft supplies, and a trip to the dollar store, you can create Halloween decorations that look far more expensive than they actually are. From elegant apothecary jars and spooky potion bottles to gothic candlesticks and creepy cheesecloth ghosts, these budget-friendly DIY projects prove that style doesn’t have to come with a high price tag.
Focus on simple upgrades like matte spray paint, a cohesive color palette, and thoughtful styling to transform inexpensive materials into eye-catching seasonal décor. Whether you’re decorating a cozy apartment, a family home, or your front porch, these dollar store Halloween decorations make it easy to celebrate the season without overspending. Happy decorating—and may your Halloween be both spooky and budget-friendly!
Leah Meyer is a passionate event planner and creative writer behind Party & Beyond, where she helps hosts throw stunning celebrations on a real-world budget. From birthday parties and baby showers to backyard weddings and holiday gatherings, Leah personally tests every DIY idea she shares , proving that the wow factor lives in the details, not the price tag. When she's not planning the next party, you'll find her hunting for hidden treasures at dollar stores, inflating balloons (she owns three pumps!), or brainstorming with her dog, the official Chief Inspiration Officer of Party & Beyond.